
Can You Use ChatGPT for Virtual Staging?
Yes, with care. What a general AI tool tends to get wrong when it adds furniture to a room photo, eight prompts to copy, and what a dedicated tool saves.
PromptsNotes you can copy into the generator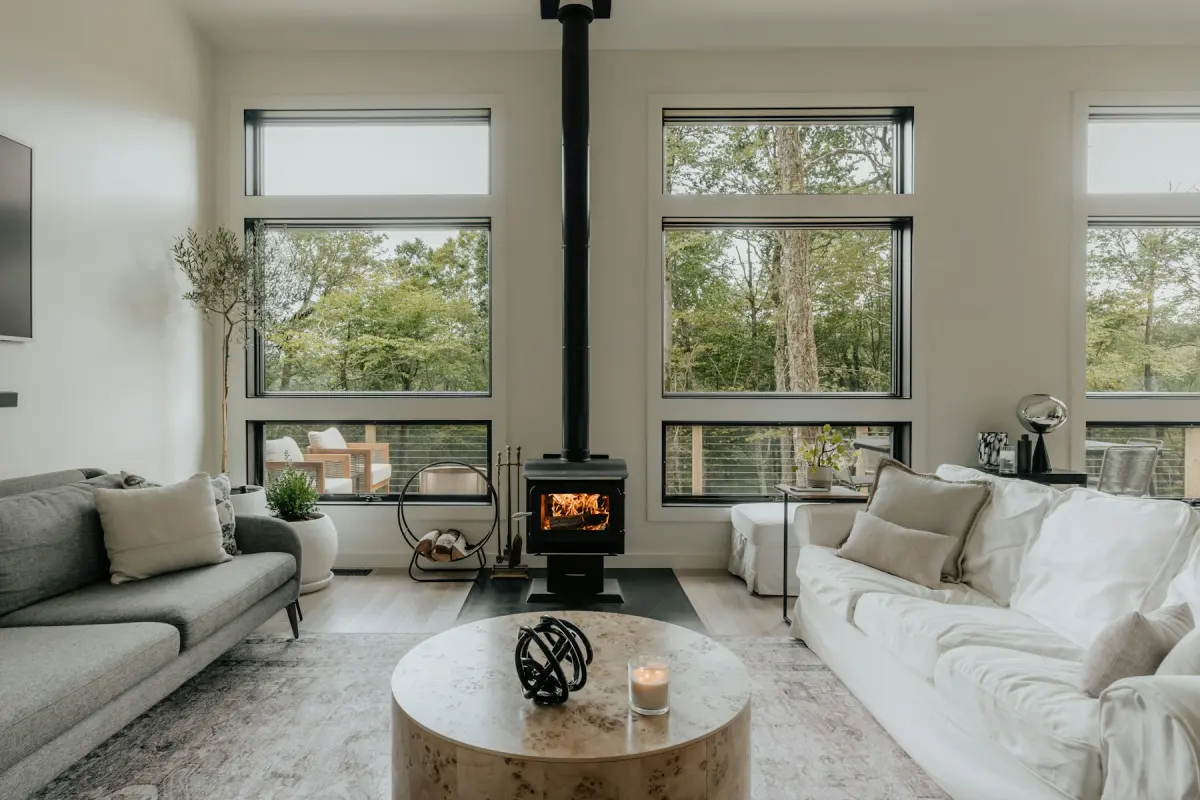
Yes: a general AI tool such as ChatGPT can take a photo of an empty room and return a version with furniture in it, if you upload the photo and describe what you want. The catch is that it may redraw the room along with the furniture, so you have to prompt it carefully and compare every result with the original before it goes on a listing.
Real estate training sites have published walk-throughs of the method, among them The Paperless Agent and BAM (both checked 2026-11-19). This guide covers what tends to go wrong, how to word the request, and when a dedicated tool is the easier route.
What a general AI tool can do
A chat assistant that edits photos works from two things: the photo you attach and the sentence you type. It has no menu for room type or style and no idea that the photo is a listing. Everything it needs to know has to be in your prompt.
That makes it flexible. You can ask for a reading chair by the window, a specific colour of rug or a dining table for six. It also makes it unpredictable, because nothing but your wording stops it from changing parts of the photo you did not mention.
We have not run a side-by-side test of these tools, and they change often. Read the next section as a list of things to check, not as a verdict on any one product.
What tends to go wrong
- The room is redrawn. A window moves, a door disappears, the ceiling gets higher or the floor changes from carpet to wood. For a listing photo this is the serious one, because the photo now shows a room that does not exist.
- The framing changes. The result may come back cropped, in another aspect ratio or at a smaller size than the photo you uploaded.
- The view changes. Whatever is outside the window may be replaced with something more attractive.
- Things are added. A fireplace, built-in shelves, a ceiling fan or extra lights can appear without being asked for.
- Scale drifts. A bed fills a room it would not fit in, or a sofa blocks a doorway.
- Each try is different. A second request can change the furniture and the room again, so fixing one detail may break another.
- Nothing marks the photo as staged. You have to add the disclosure yourself.
None of this is special to one tool. It follows from asking a general model to do a narrow job with only a sentence to guide it.
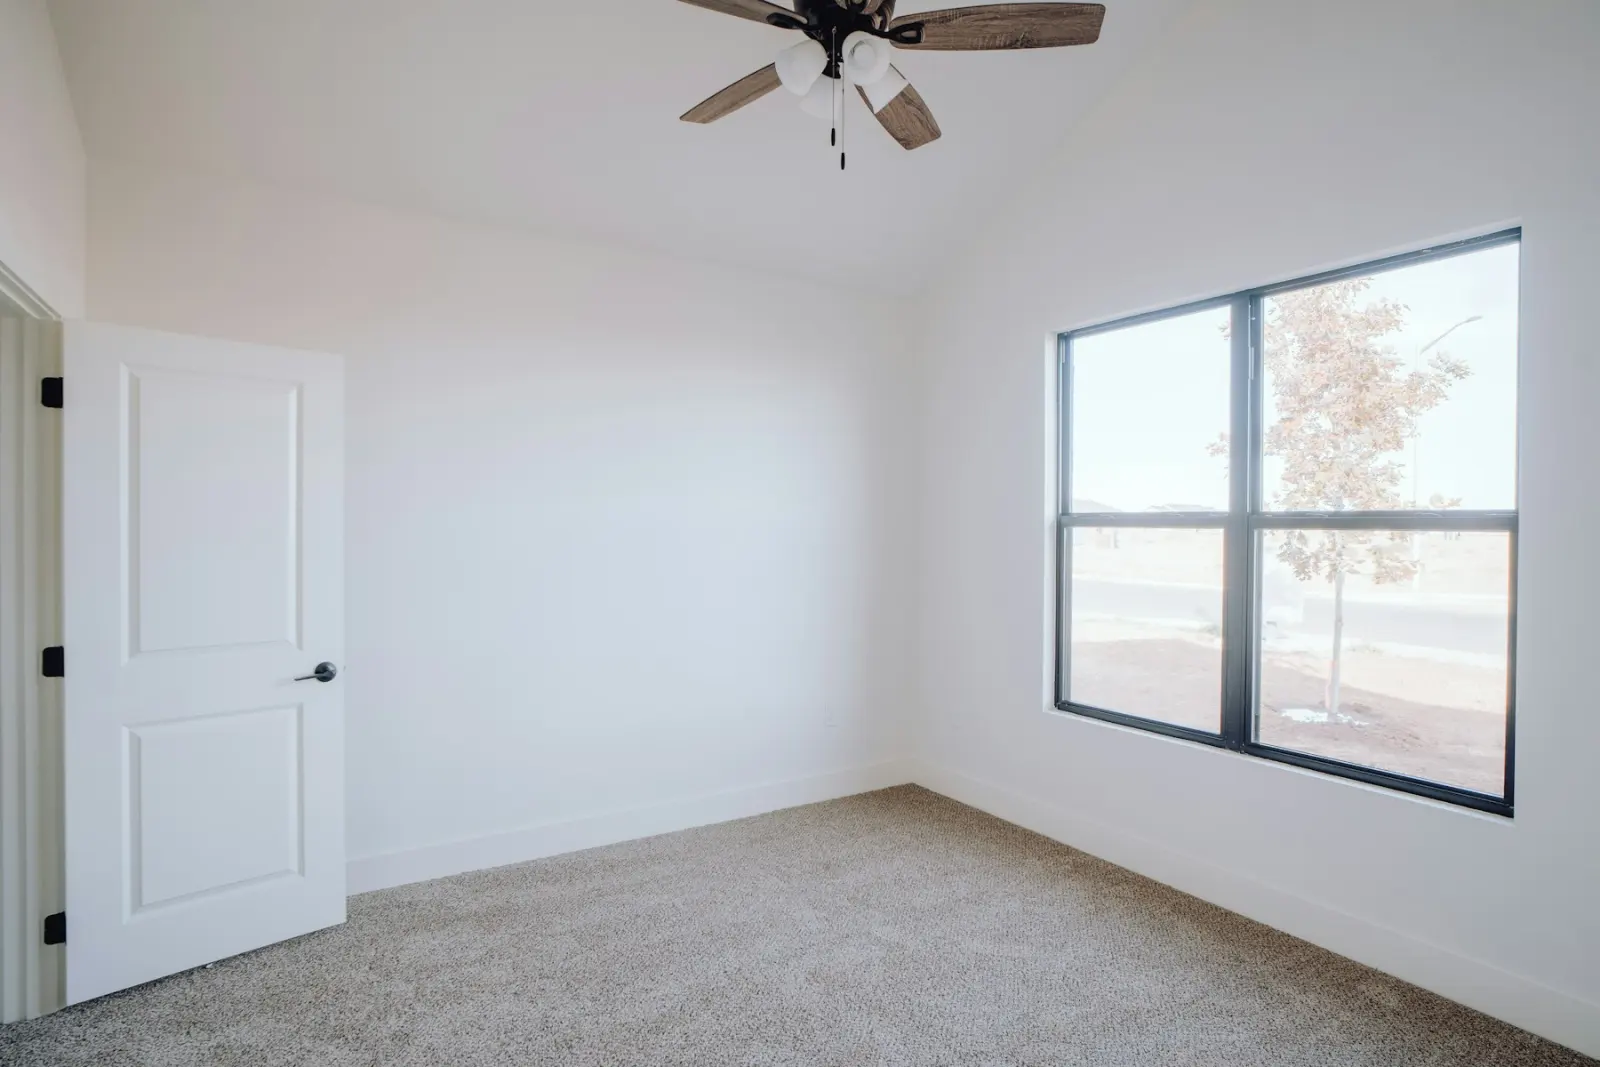
Stock photo used as an illustration of a starting photo. Whatever tool you use, the walls, windows and floor of a room like this must look the same after staging.
How to prompt it
- Say what must stay before you say what to add. Name the walls, windows, doors, ceiling, floor, built-in fixtures and the view.
- Name the room and the style. “Bedroom, Scandinavian” gives clearer results than “make it nice”.
- List the furniture. Four to six pieces are enough. Long lists crowd the room.
- Fix the camera. Ask for the same camera angle, framing and aspect ratio.
- Exclude what you do not want. No people, no text, no new windows or fixtures.
- Change one thing at a time. When a result drifts, go back to the original photo and start again. Editing an edit tends to add errors.
Prompts you can copy
Attach your photo, then paste one of these. Replace the words in square brackets.
1. Empty living room
Add furniture to this photo of an empty living room in a [modern] style: a sofa, a coffee table, an area rug, a floor lamp and one piece of wall art. Do not change the walls, windows, doors, ceiling, floor, built-in fixtures or the view through the windows. Keep the same camera angle, framing and aspect ratio. Photorealistic, lit by the daylight already in the photo. No people, no text.
2. Empty bedroom
Stage this empty bedroom in a [Scandinavian] style: a [queen] bed with plain bedding against the [longest wall], two bedside tables with lamps, a rug under the bed and a small plant. Keep every wall, window, door, the ceiling, the flooring and the closet exactly as they are. Same camera angle, framing and aspect ratio. Realistic scale for the room. No people, no text.
3. Dining area
Add a dining table for [six] with chairs, a sideboard and a rug to this empty dining area, in a [transitional] style. Do not add, remove or change any ceiling light, window or door. Keep the floor, walls and view unchanged, and keep the same camera angle, framing and aspect ratio. No people, no text.
4. Home office in a small room
Stage this small empty room as a home office in a [mid-century] style: one desk under the window, a desk chair, a low bookcase and a rug. Keep the furniture small enough that the door can open fully. Do not change the walls, window, door, ceiling or floor. Same camera angle, framing and aspect ratio. No people, no text.
5. Remove furniture
Remove all furniture, rugs, lamps, wall art, curtains, plants and personal belongings from this room. Keep everything that is built in: kitchen cabinets, appliances, radiators, fireplaces, ceiling lights, doors and windows. Show the bare floor and walls as they would look behind the furniture. Do not repair, repaint or change anything else. Same camera angle, framing and aspect ratio.
6. Declutter only
Remove the loose clutter and personal items from this photo: clothes, toys, papers, cables, dishes, toiletries and family photos. Leave all furniture exactly where it is. Do not change the walls, floor, windows or anything built in. Same camera angle, framing and aspect ratio.
7. Day to dusk for an exterior
Turn this daytime photo of a house into a twilight photo: a dusk sky, warm light in the windows and the exterior lights on. Do not change the building, the roof, the driveway, the trees, the neighbouring buildings or anything else on the lot. Same camera angle, framing and aspect ratio. No people, no cars added.
8. When the result changed the room
You changed the [window on the left wall]. Start again from my original photo. Only add the furniture I listed. The walls, windows, doors, ceiling and floor must match the original photo exactly.
Whatever the tool answers, do not use it to hide cracks, stains, damage, power lines or a neighbour's building, or to add a view or a window the home does not have. That misrepresents a property on any platform.
Can Gemini do virtual staging?
Where Gemini's photo editing is available to you, the approach is the same: attach the photo, say what must stay, then say what to add. The prompts above are plain English and are not tied to one assistant. The same checks apply, structure first. We have not tested it ourselves.
Can I do virtual staging in Canva?
This question shows up in Google's search suggestions. Canva is a design tool, so where its AI photo editing features are available to you, use the same prompts and the same checks. We have not tested it. A design tool is also a simple place to put a “Virtually staged” text box on a finished photo by hand, though the free virtual staging disclosure label tool does that for up to 20 photos at a time.
Virtual staging with Nano Banana
If you came here searching for virtual staging with Nano Banana: Virtual Staging Maker's generator runs on Google's Nano Banana 2.1 image model. The difference from typing a prompt yourself is that the request is already written. Every render tells the model to keep the walls, windows, doors, ceiling, built-in fixtures, the view, the camera angle and the framing unchanged, and adds your room type and style. That is still an instruction to an AI model, not a guarantee, so the comparison with the original stays your job. Virtual Staging Maker is independent and is not affiliated with Google.
What a dedicated tool saves
| Task | General AI tool | Virtual Staging Maker |
|---|---|---|
| Room type and style | You describe them in every prompt | Presets: 11 rooms and 12 styles |
| Keeping the structure | You write the instruction and repeat it | Built into every request |
| Other jobs | A new prompt for each one | Nine modes, including Remove furniture, Declutter and Day to dusk |
| Output | Check the size and shape of what comes back | Same aspect ratio as your photo, JPG at 2K or 4K |
| Comparing with the original | Open both files side by side | A before/after slider |
| Disclosure label | Add it yourself | A checkbox at Download adds “Virtually staged” in the lower-left corner |
| History | Scroll back through the chat | Your photos, kept for 14 days |
| Follow-up changes | Ask in the next message | Change the style or the note and press Generate again; each render uses credits |
In Virtual Staging Maker the note box takes the part of the prompt that is specific to your room, in up to 300 characters, such as “a sectional facing the fireplace”. The prompt library has notes ready to copy, and the styles and room types page shows the presets.
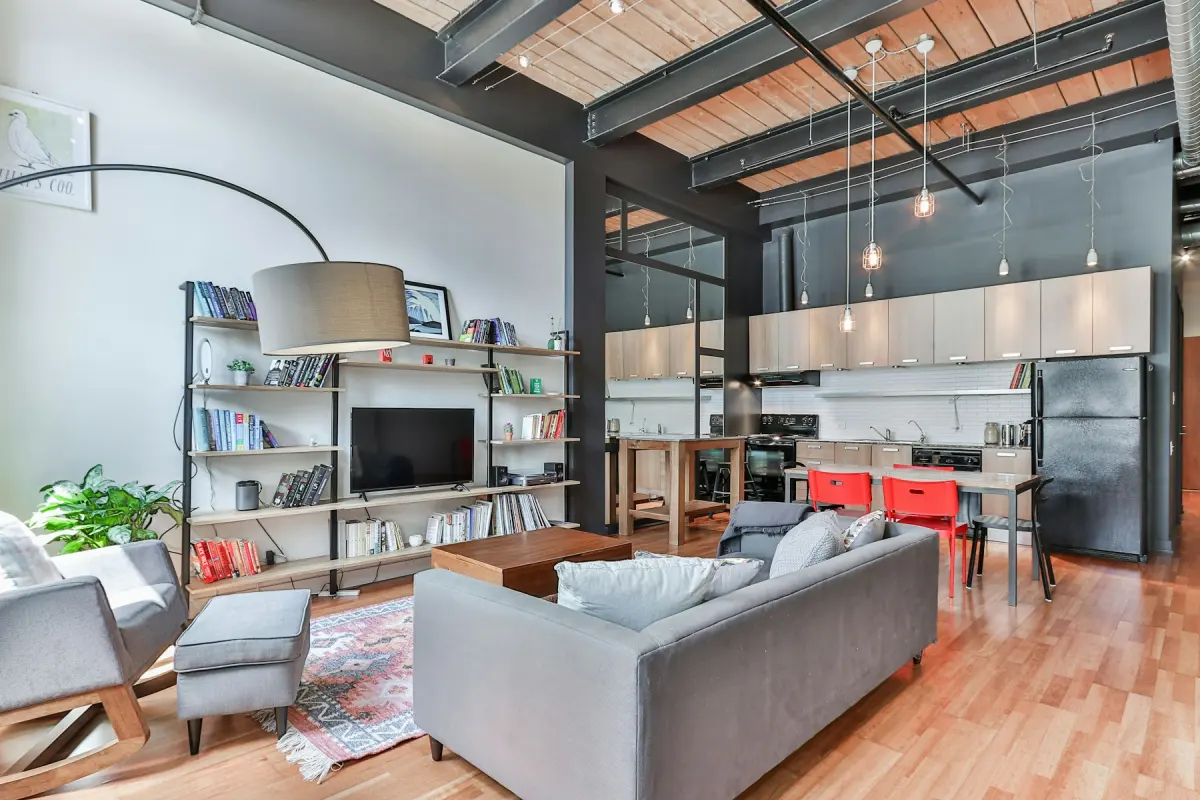
Stock photo used as an illustration of the Industrial style, one of the 12 style presets. It was not made with the tool.
When a general tool is the better choice
- You already use one, and you only need a photo or two.
- You want a request that no preset covers, or you like refining a result by talking to it.
- You want to try the idea before paying for anything. Virtual Staging Maker has no free trial and no free renders. Its cheapest start is the trial pack, 5 photos for $1.99 at the new-user price, and the pricing page lists the plans.
A dedicated tool earns its price when you stage listings regularly and want the same steps, the same checks and a label every time.
Whichever tool you use
Two things do not change with the tool. Compare the result with the original, and disclose the staging. The free virtual staging disclosure label tool works on photos staged anywhere, including in a chat assistant. Is virtual staging allowed on MLS listings? explains what MLSs usually ask for, and how to virtually stage an empty room with AI shows the same job done in the generator.