
How to Virtually Stage an Empty Room with AI
Every step from photo to download: choose the mode, room and style, press Generate, check the result against the original and add a disclosure label.
Virtual staging AIUpload a room photo, pick a room type and a style, and press Generate.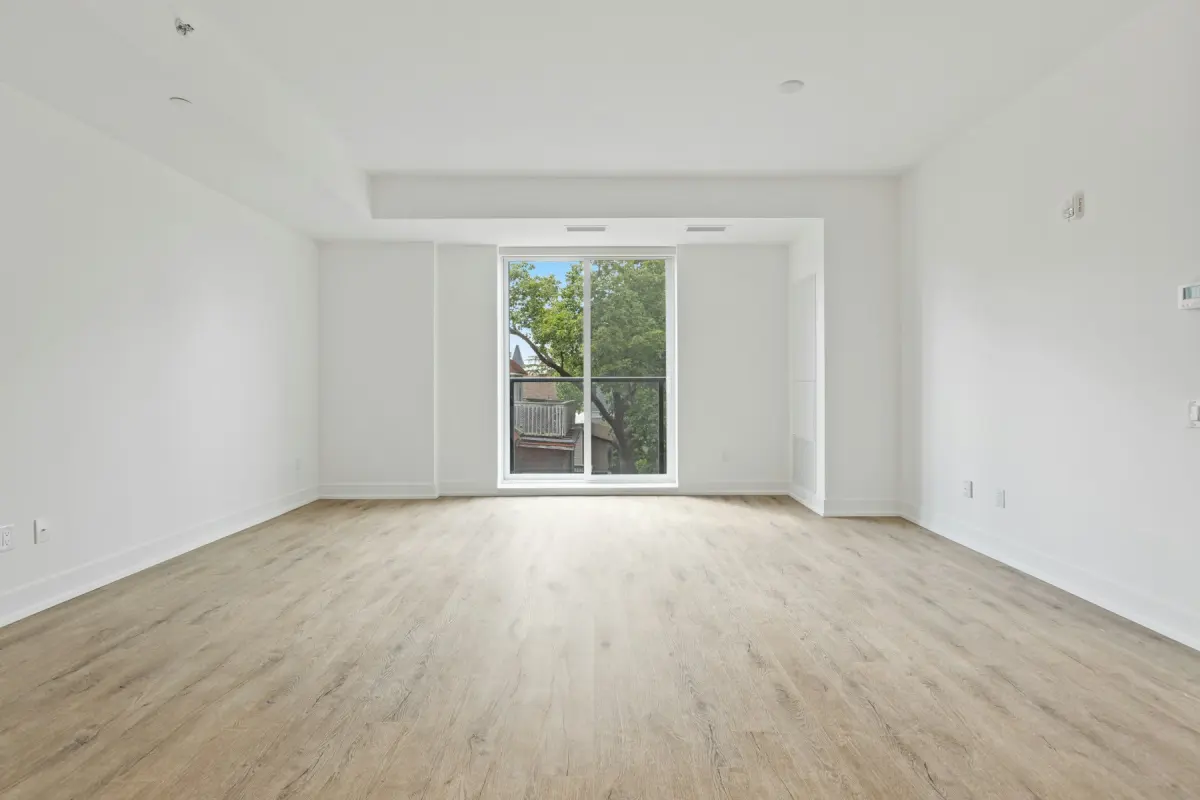
To virtually stage an empty room with AI, upload one photo of the room, choose the room type and a furniture style, and let the AI model draw the furniture into the photo. You can do it yourself, with no design software and no training: in Virtual Staging Maker the whole job is one form on the home page, and the skill lies in choosing a good photo and checking the result.
This guide goes through that form control by control, then covers what to check, when to render again and what it costs.
What you need before you start
- One photo of the room. JPG, PNG or WebP, up to 15 MB. A level, well-lit photo that shows the floor works best. How to photograph empty rooms for virtual staging explains how to take one.
- The right to use it. You must own the photo or have permission to use it, for example from the seller, the landlord or the photographer. Do not upload photos that show people.
- Credits. One photo at 2K uses one credit and a 4K photo uses two. There is no free trial. The section “How do I virtually stage a room for free?” below gives the honest details.
If you have no photo yet, sample photos such as “Sample: empty living room” fill the upload so that you can try the controls first.
Step 1: Choose what to do
The first control, What to do, has nine modes. For an empty room, pick Virtual staging. If your photo is not an empty room, another mode fits better.
| Your photo | Mode | What you get |
|---|---|---|
| An empty room | Virtual staging | Furniture and decor added, for the room type and style you choose |
| A furnished room that should look different | Restyle | The furniture and decor replaced with a new style, in a similar layout |
| A furnished room that should be empty | Remove furniture | Furniture, rugs, lamps, wall art, curtains, plants and belongings gone; built-in things stay |
| A lived-in room with things lying around | Declutter | Loose clutter and personal items gone; the furniture stays where it is |
| A room that needs work | Renovate | A preview with new wall paint, flooring, light fixtures and hardware |
| An empty patio, deck, balcony, terrace or backyard | Outdoor staging | Outdoor furniture, an outdoor rug and planters added |
| A daytime exterior | Day to dusk | A twilight photo: dusk sky, warm light in the windows, exterior lights on |
| An exterior under a gray sky | Blue sky | A clear blue sky with a few clouds |
| An exterior with brown or patchy grass | Green lawn | Green, tidy grass |
A furnished room can be handled in two ways. Restyle does it in one render. Or use Remove furniture first, download the emptied photo and run Virtual staging on it, which is two renders. The AI furniture removal and AI room declutter pages explain those modes.
Step 2: Upload the photo
Upload one photo at a time. There is no batch upload. Photos larger than 4096 px on the long edge are scaled down in your browser before upload, so a camera file needs no resizing as long as it is under 15 MB.
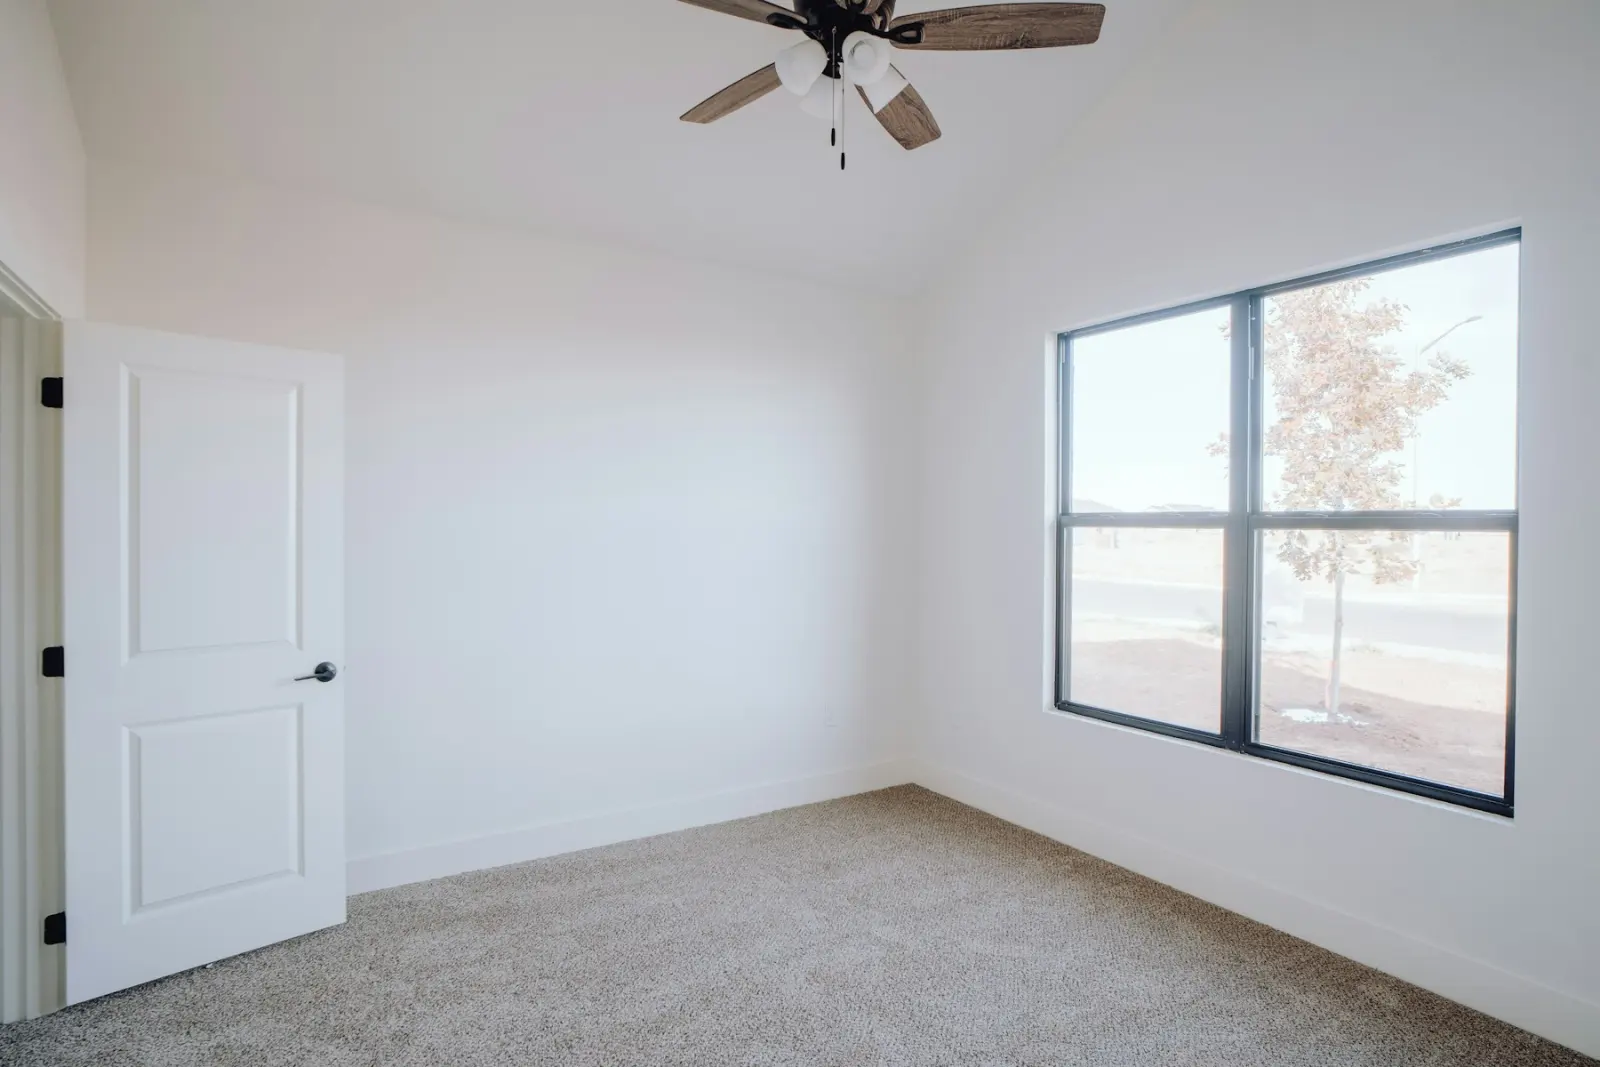
Stock photo used as an illustration: an empty bedroom like this is a typical starting photo for Virtual staging.
Every upload passes an automatic content check. A refused upload is not charged.
Step 3: Pick the room, the style and an optional note
Room tells the model what furniture belongs in the photo. There are 11: Living room, Bedroom, Kitchen, Dining room, Bathroom, Home office, Kids' room, Nursery, Entryway, Basement and Studio apartment. Pick what the room will be marketed as. A small third bedroom can be shown as a Home office if that is how a buyer would really use it.
Style sets the look. There are 12: Modern, Scandinavian, Mid-century, Farmhouse, Coastal, Industrial, Minimalist, Traditional, Transitional, Bohemian, Japandi and Luxury. Choose for the likely buyer and the building, not for your own taste, and keep one style across a listing so that the rooms read as one home. The styles and room types page shows each of them.
The note is optional and holds up to 300 characters in your own words, for example “a sectional facing the fireplace”. Use it for one or two concrete requests: where the bed goes, which wall to leave clear, a desk under the window. The prompt library has notes you can copy. A note cannot place a specific product from a shop, and the model cannot measure the room. Notes pass the content check as well, and a refused note is not charged.
Step 4: Choose the output size and press Generate
Output size is 2K or 4K. A 2K photo uses one credit. Choose 4K when you need the larger file, for example for print. It uses two credits.
Then press Generate. Payment comes first and the account after: if you have no credits yet, you pay for the trial pack or a plan, then save an account with your email. Most photos are ready while you wait.
If a render fails, times out or the result is refused by the content check, the credits come back automatically.
Step 5: Check the result, then download
When the photo is ready, a before/after slider shows the original and the result. The result keeps the aspect ratio of your photo and is a JPG. Drag the slider across the whole photo and check these points:
- Structure. Walls, windows, doors and ceiling are where they were. Nothing was added that the room does not have, such as an extra window or a fireplace.
- Built-in fixtures. Radiators, ceiling lights, cabinets and appliances are unchanged.
- The view. What you see through the windows is the same.
- Framing. The camera angle and the crop match the original.
- Floor and walls. The flooring and the wall colour were not changed. Staging must not repaint a room.
- Scale. The furniture is a believable size for the room, and doorways and walkways are not blocked.
- Contact with the floor. Furniture legs stand on the floor, rugs lie flat, and shadows fall the same way as the light from the windows.
Every request tells the model to keep the walls, windows, doors, ceiling, built-in fixtures, the view, the camera angle and the framing unchanged. That is an instruction to an AI model, not a guarantee, which is why this check is yours to do.
If the photo passes, press Download. A checkbox adds a “Virtually staged” label in the lower-left corner of the downloaded file. Many MLSs and portals expect staged photos to be disclosed. Is virtual staging allowed on MLS listings? explains what that usually means.
Finished photos are listed under Your photos and kept for 14 days. After that they are deleted and cannot be recovered, so download the ones you want to keep.
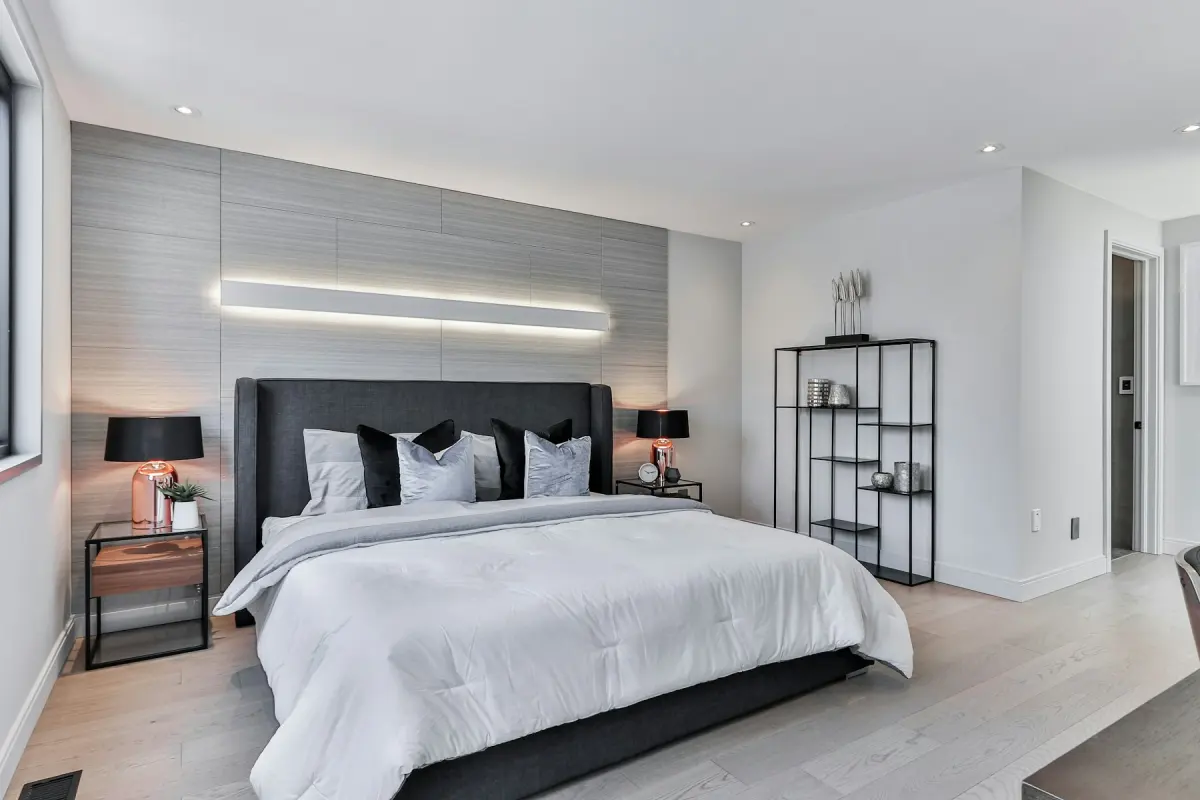
Stock photo used as an illustration of the Modern style in a bedroom. It was not made with the tool.
When to render again
Each press of Generate is a new render and uses credits. There are no free re-renders, so decide before you press.
- Render again when something structural moved or was added. That photo should not go on a listing.
- Render again when the scale is clearly wrong, or furniture blocks a door.
- Change something first. Pick a different style, or add a note that names the problem, such as “keep the left wall clear” or “a smaller sofa”. The same settings may give a different layout, but there is no promise that it will be a better one.
- Leave it when the photo is correct and only your taste would pick another cushion. A buyer is judging the room, not the cushion.
Several photos of the same room
Virtual Staging Maker does not keep furniture identical across different photos of the same room. Two angles of one living room are likely to come back with different sofas. Stage the single angle that shows the room best, and leave the other angles unstaged.
Can I do virtual staging myself?
Yes. Nothing in the steps above needs a designer, and no human designer edits the photo here. What you take on in exchange is the checking and the disclosure: you may use the photos you generate in your own listings and marketing, and you are responsible for how they are used and for any disclosure that a listing service or the law requires.
How do I virtually stage a room for free?
With Virtual Staging Maker, you cannot. There is no free trial and there are no free renders. The cheapest way to start is the trial pack: 5 photos at 2K for $1.99. That is a new-user price, good for one hour after you first see the offer. After that the same pack costs $4.99. It is limited to one per account.
What is free: the sample photos for trying the controls, the style gallery, the prompt library, these guides and the virtual staging disclosure label tool, which works on photos staged anywhere.
After the trial pack, plans start with Starter at $19.99 a month for 40 photos. Every plan includes every tool and style. The pricing page has the details, and the cost guide lists other tools, some of which let you test a few watermarked photos without paying.
How does virtual staging work?
Your photo goes to Google's Nano Banana 2.1 image model together with an instruction built from your choices: the mode, the room type, the style and your note, plus the standing instruction to leave the structure of the room alone. The model returns a new version of the photo with the furniture in place. Virtual Staging Maker is independent and is not affiliated with Google.
What this tool does not do
- No batch upload: one photo per render.
- No video tours, 3D tours, 360° panoramas or floor plans.
- No specific products: it cannot place a particular sofa from a shop.
- No hiding of defects. Removing cracks, stains, damage, power lines or a neighbour's building misrepresents a property and is against the content policy.