
How to Photograph Empty Rooms for Virtual Staging
Camera height, lens, light and vertical lines for photos that stage well, the photos that give poor results, and the limit on several angles of one room.
Virtual staging AIUpload a room photo, pick a room type and a style, and press Generate.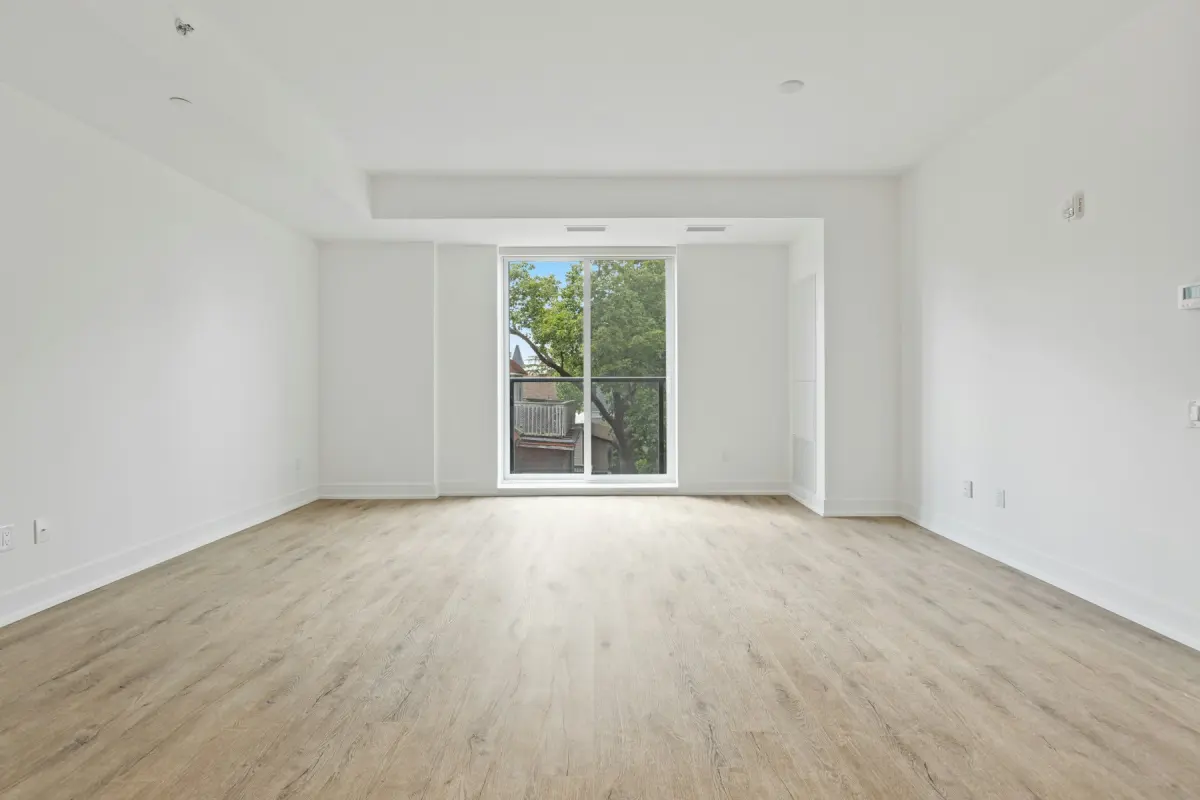
Photograph an empty room for virtual staging from a corner or a doorway, at about chest height, with the camera level, a moderately wide lens and even daylight, so that the floor and two or three walls are clearly visible. The AI model adds furniture to what the photo shows, so a photo with open floor, straight vertical lines and nothing lying around gives it the most to work with.
The rest of this guide explains each of those choices, lists the photos that tend to give poor results, and is honest about one limit: several angles of the same room will not come back with matching furniture.
The short checklist
- Stand in a corner or a doorway and show two or three walls.
- Hold the camera at about chest height and keep it level.
- Use a moderately wide lens, not the widest one you have.
- Shoot in daylight with the curtains open.
- Keep vertical lines vertical.
- Clear the floor of everything that is not part of the home.
- Save a JPG, PNG or WebP under 15 MB.
Camera height and position
Set the camera at about chest height, roughly 1.2 to 1.5 m (4 to 5 ft). From there the room looks the way it does to a person standing in it, and the floor takes up enough of the frame to hold furniture. Much higher, and you have to tilt the camera down to get the floor in, which makes the walls lean. Much lower, and the floor shrinks to a thin strip.
Stand in a corner or in the doorway and aim toward the opposite corner. Two or three walls in the frame tell the model, and the buyer, how the room is shaped. A photo taken flat against one wall shows a surface, not a room.
Leave some floor in the foreground and some ceiling at the top. Furniture needs floor to stand on, and a strip of ceiling helps the room read as a closed space.
Use a tripod if you have one. It keeps the camera level, and it lets you use a slower shutter in dim rooms without blur.
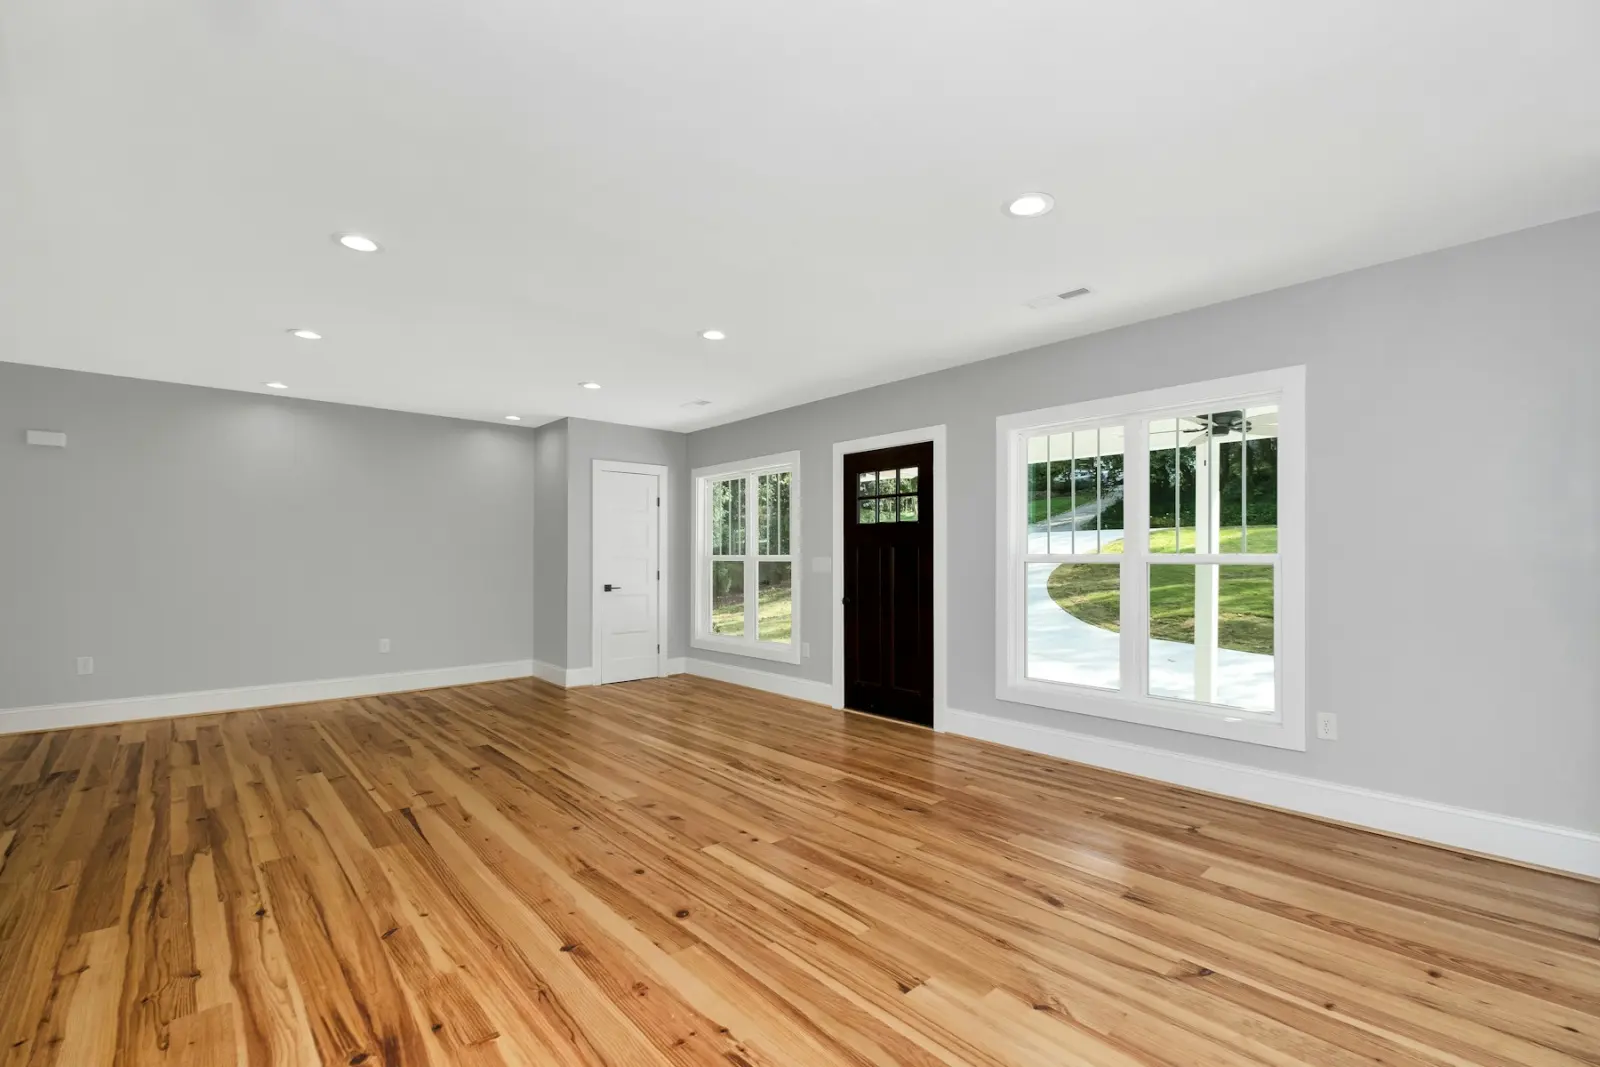
Stock photo used as an illustration: an empty living room, the starting point for virtual staging.
Lens
A moderately wide lens works best: about 16 to 24 mm on a full-frame camera, or the equivalent on a smaller sensor. It takes in enough of the room from a corner without stretching it.
On a phone, start with the main camera and step back as far as the room allows. Switch to the ultra-wide camera only when the main one cannot show two walls, and then keep the phone perfectly level, because tilt is exaggerated at wide angles.
Avoid the extremes. A very wide or fisheye lens stretches the corners of the frame, and furniture placed there will look stretched too, or out of scale with the rest of the room. A long lens shows one wall and gives the model nowhere to put a sofa.
Light
Daylight is the easiest light to get right. Open the curtains and blinds, and shoot when the sun is not shining straight into the lens. Even, soft light helps the model work out where shadows should fall.
- Bright windows. A window that is far brighter than the room turns into a white rectangle and leaves the room dark. Use your camera's HDR mode or bracket the exposure, so that both the room and the window keep their detail.
- Room lights. Decide on all on or all off, and keep it the same in every room. Lamps mixed with daylight give patches of orange and blue that are hard to correct later.
- Flash. Direct flash leaves a bright spot on the nearest wall and hard shadows. If you use flash, bounce it off the ceiling.
- Dark rooms. A dim, grainy photo stays dim and grainy after staging. Use a tripod and a longer exposure in place of a high ISO.
Vertical lines
Walls, door frames and window frames should run straight up and down in the photo. They lean when the camera is tilted up or down. Keep the camera level and change its height to change the framing.
If your camera or phone shows a level or a grid, switch it on. Small errors can be corrected afterwards with the perspective tool in a photo editor. Do it before you upload, because the result keeps the camera angle and the framing of the photo you send.
What to remove before you shoot
For Virtual staging, the room should be empty. Walk through it before you shoot and take out:
- boxes, bags and anything left behind by the last occupant
- ladders, paint cans, tools and cleaning supplies
- bins, loose cables and extension leads
- your own gear, including the camera bag and your shoes by the door
Check the windows and any mirrors for your own reflection, and step out of the frame. Photos that show people should not be uploaded.
If the room is not empty and cannot be emptied, pick a different mode. Declutter removes loose clutter and personal items and keeps the furniture where it is (AI room declutter). Remove furniture empties the room and keeps built-in things such as kitchen cabinets, appliances, radiators and fireplaces (AI furniture removal). Each of them is a render of its own and uses credits, so clearing a room by hand before the shoot is the cheaper route.
Do not tidy away the property itself. Cracks, stains and damage belong in an honest listing photo, and the tool is not for hiding them.
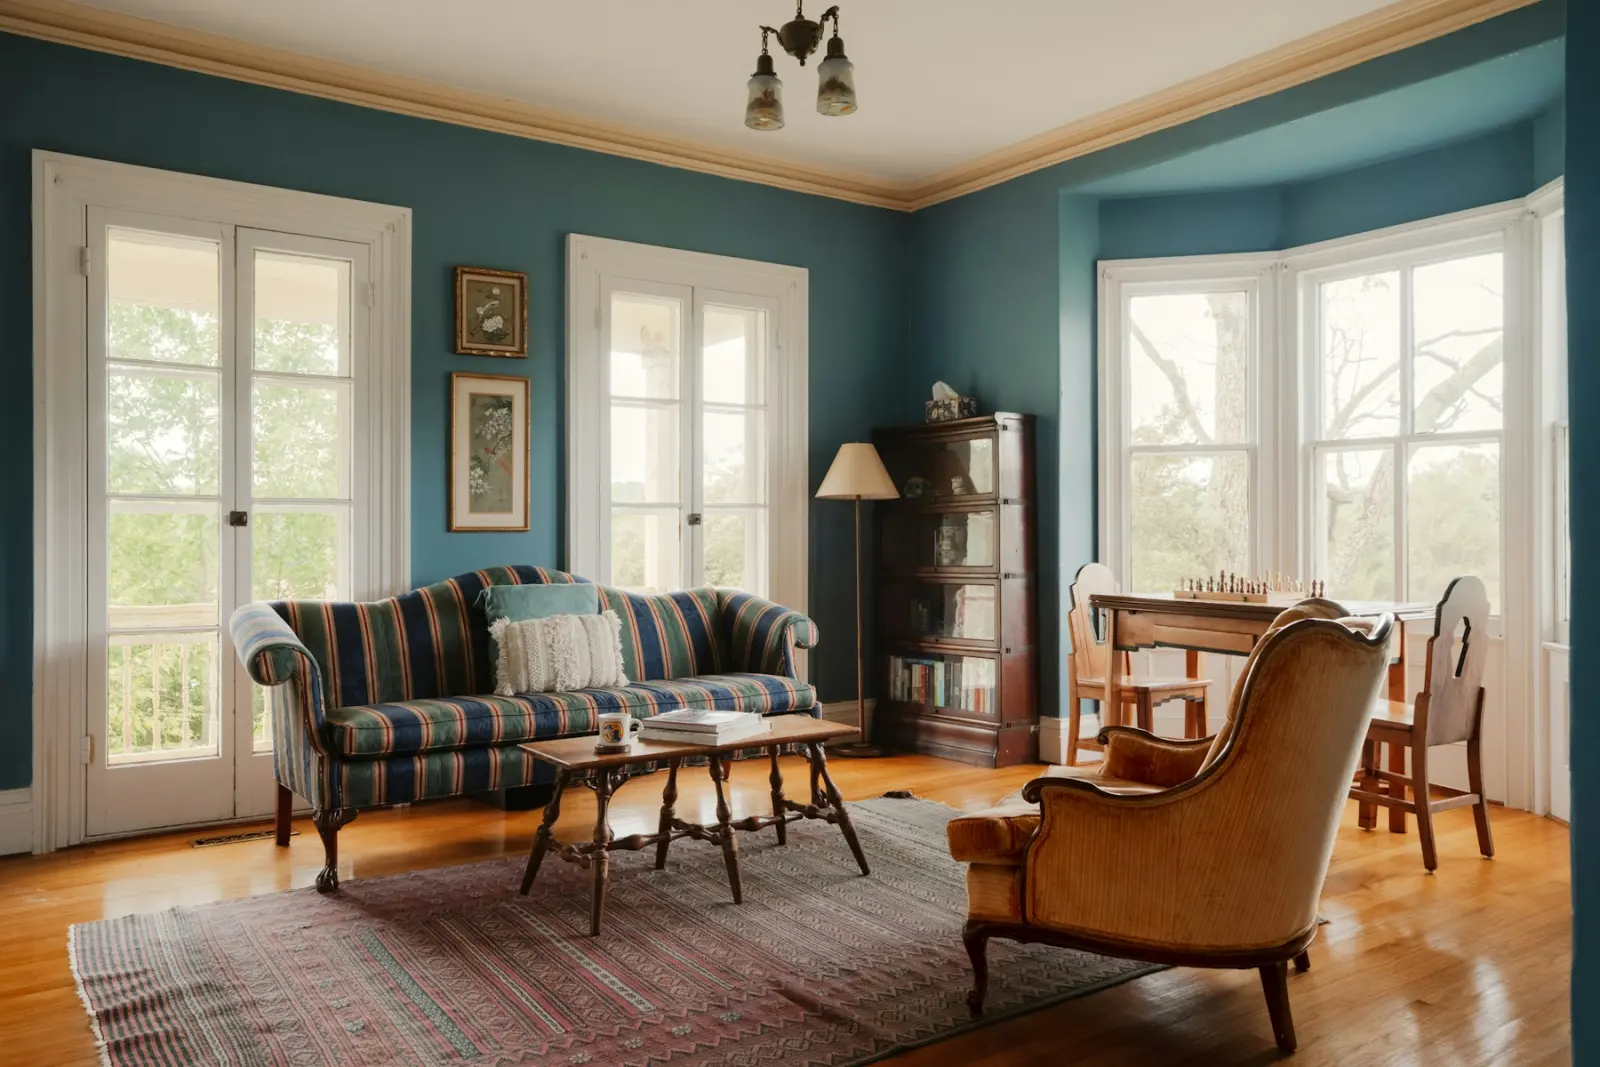
Stock photo used as an illustration of a furnished room. A photo like this is a case for Declutter, Restyle or Remove furniture, not for Virtual staging.
File size and format
Virtual Staging Maker accepts JPG, PNG or WebP, up to 15 MB, one photo at a time. Photos larger than 4096 px on the long edge are scaled down in your browser before upload, so there is no need to shrink a camera file yourself.
The result keeps the aspect ratio of the photo you upload and is a JPG, at 2K or 4K. Crop to the shape your listing needs before you upload, not after.
Export from RAW to JPG first. Finish your exposure and colour corrections before staging, because the result is built on the photo you send.
Photos that give poor results
| Photo | What tends to go wrong | What to do |
|---|---|---|
| A tight crop with little floor | There is nowhere to put furniture, so it is squeezed in or cut off by the frame | Step back into the corner or doorway and include the floor |
| A large mirror or a glossy surface | The reflection should show the new furniture and may not match it | Pick an angle that keeps the mirror out, or check the reflection closely |
| Heavy clutter in a room meant to be staged | Furniture has to be drawn around or over what is there | Clear the room, or run Remove furniture or Declutter first |
| An extreme wide angle or fisheye | Stretched corners make furniture look out of scale | Use a moderately wide lens and step back |
| A tilted camera | Leaning walls, and furniture that seems to slide | Level the camera, or correct the verticals before upload |
| A dark or blown-out photo | The result keeps the same exposure problems | Reshoot in daylight, with HDR or bracketing |
| A 360° panorama | Not supported | Take ordinary photos of each room |
These are tendencies, not rules. Every request tells the model to keep the walls, windows, doors, ceiling, built-in fixtures, the view, the camera angle and the framing unchanged, but that is an instruction to an AI model, not a guarantee. Compare each result with the original, and render again if something moved.
Can AI virtual staging show the same room from multiple angles?
Not with matching furniture, in Virtual Staging Maker. It does not keep furniture identical across different photos of the same room, so two angles of one living room are likely to come back with different sofas and rugs.
Plan the shoot around that limit:
- Pick one hero angle per room, the one that shows the most floor and the best light, and stage that photo.
- Use the other angles unstaged, as the honest record of the empty room.
- Do not put two differently staged angles of one room in the same listing. Buyers who compare the photos will see that the furniture changed.
If matching angles are a requirement, this is not the right tool. Some other tools list multi-angle staging among their features (checked 2026-11-19), and a human designer can do it by hand. Our Virtual Staging AI alternative page says when another tool fits better.
Can AI virtual staging make empty rooms look realistic?
The photo decides much of it. A level, well-lit photo with open floor gives the model clear walls, a clear floor and a clear light direction to match. A dark, tilted or cluttered photo gives it less, and the furniture is more likely to look pasted in. That is why the steps above matter more than any setting in the generator.
Exterior photos
For Day to dusk, Blue sky and Green lawn, shoot the whole front of the home in daylight and leave room for the sky and the lawn in the frame. Keep the camera level here as well, and move cars and bins out of view if you can. The day to dusk page explains what that mode changes.
After the shoot
With the photos ready, the staging itself is one form. How to virtually stage an empty room with AI goes through it step by step, virtual staging for real estate photographers covers adding it to a shoot delivery, and the generator is on the home page.