
Remove furniture
AI Furniture Removal: Empty a Room Photo Online
AI furniture removal takes a photo of a furnished room and gives back the same room empty, with its walls, windows and built-in fixtures left in place.
Upload one photo, choose Remove furniture under What to do, and press Generate.
- JPG, PNG, WebP up to 15 MB
- Built-in fixtures stay
- 2K or 4K
- Kept 14 days
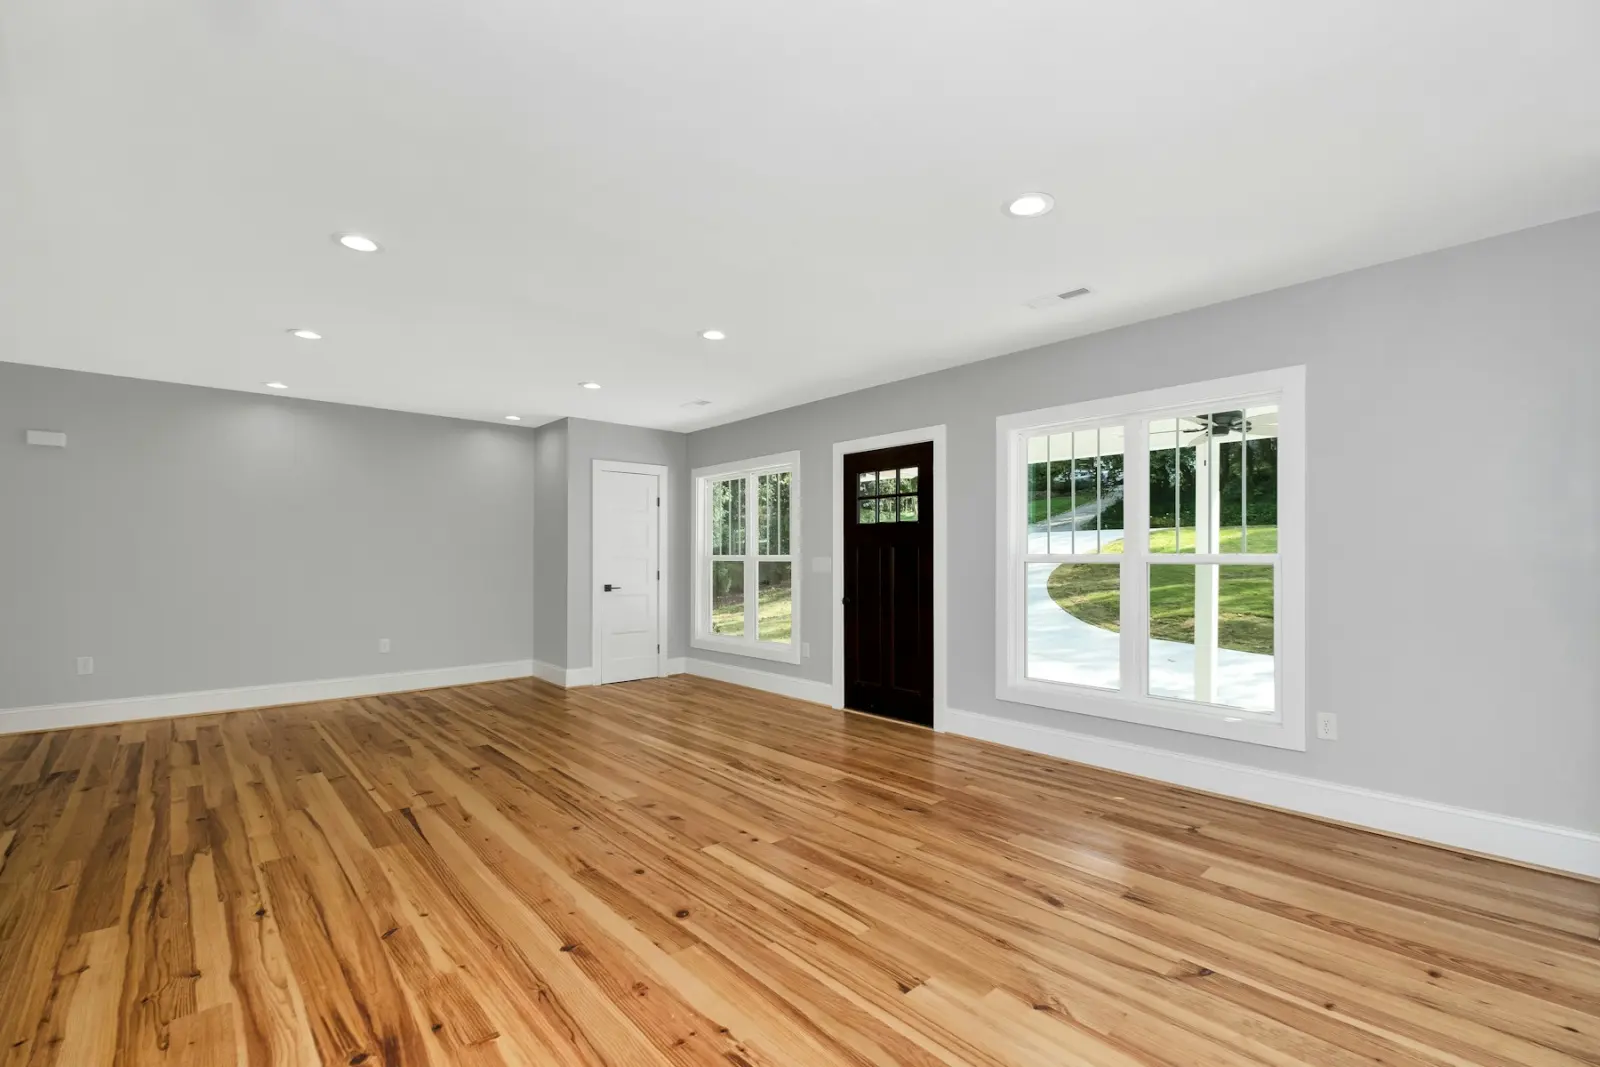
What this kind of photo looks like
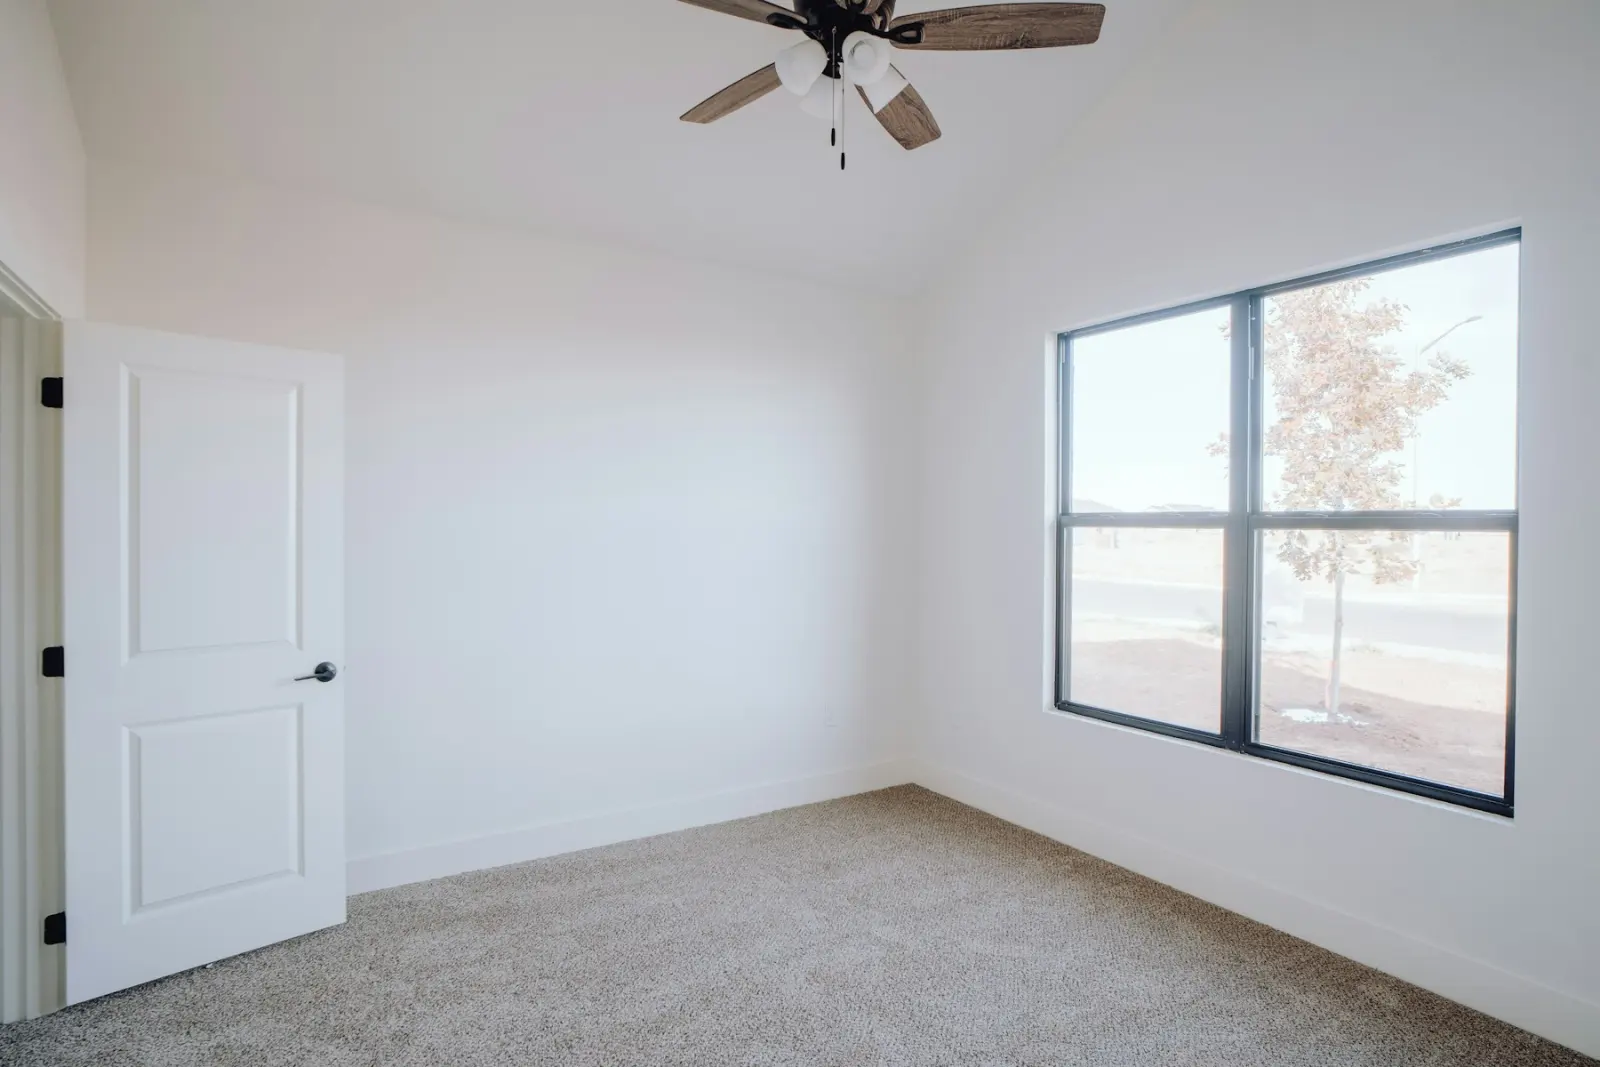 Bedroom
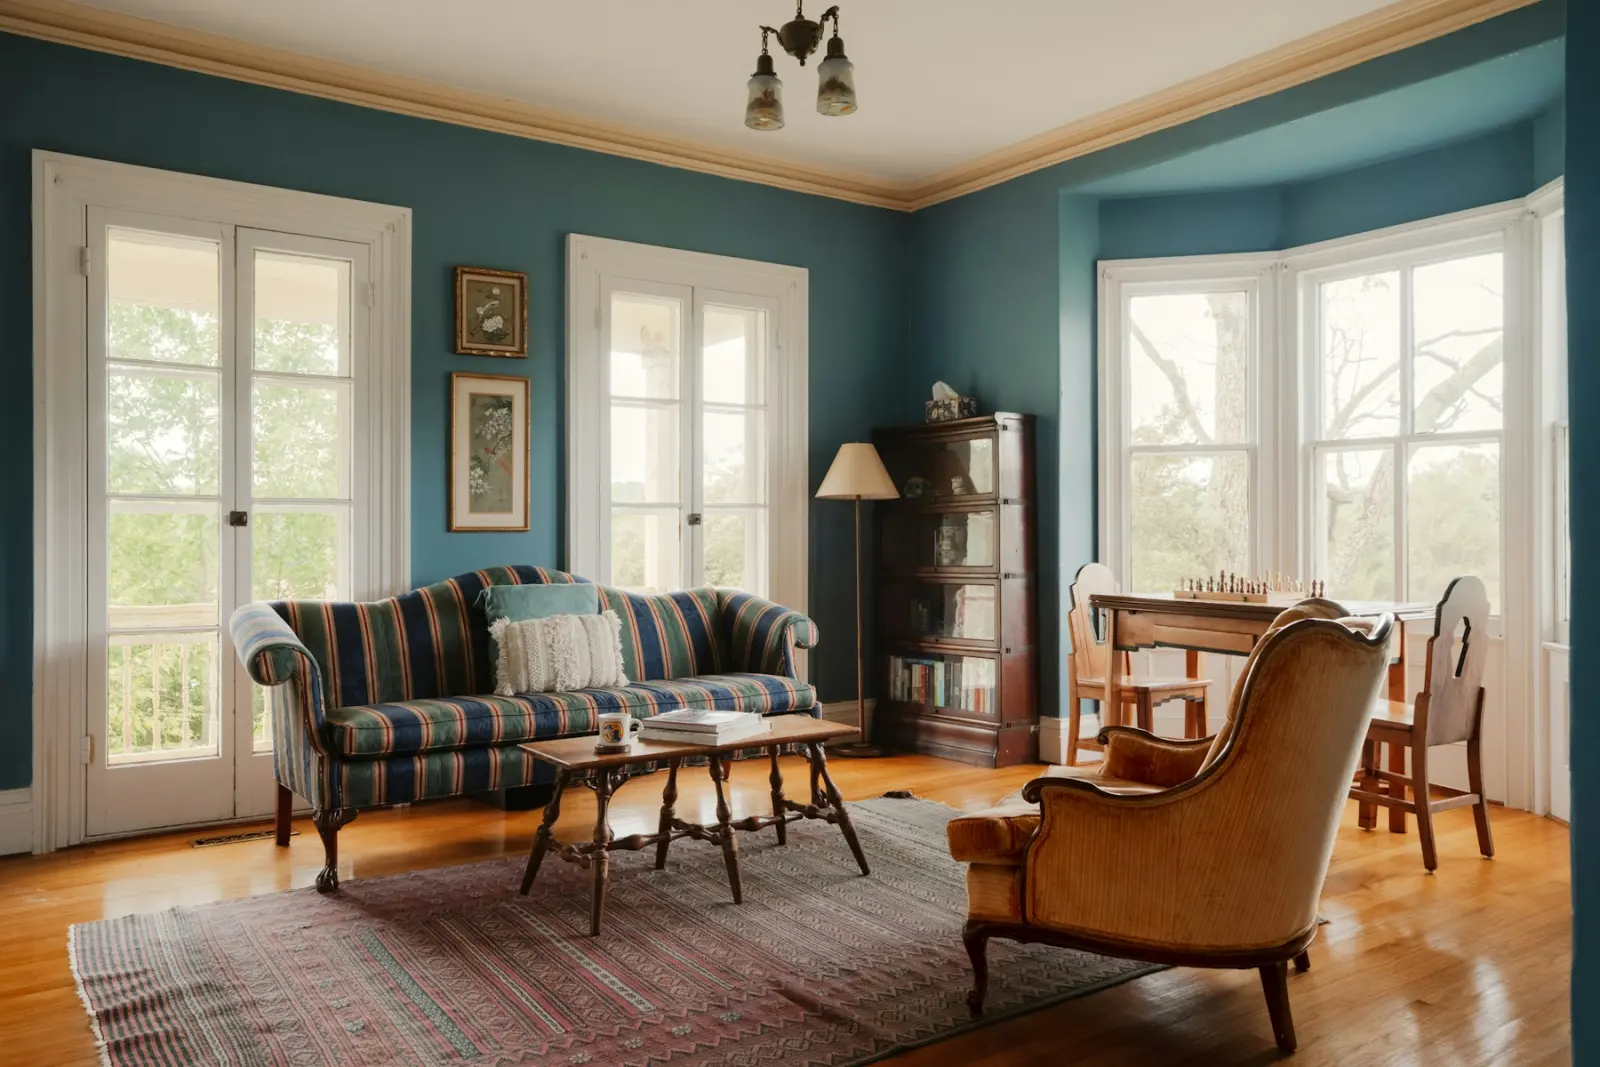 Living room
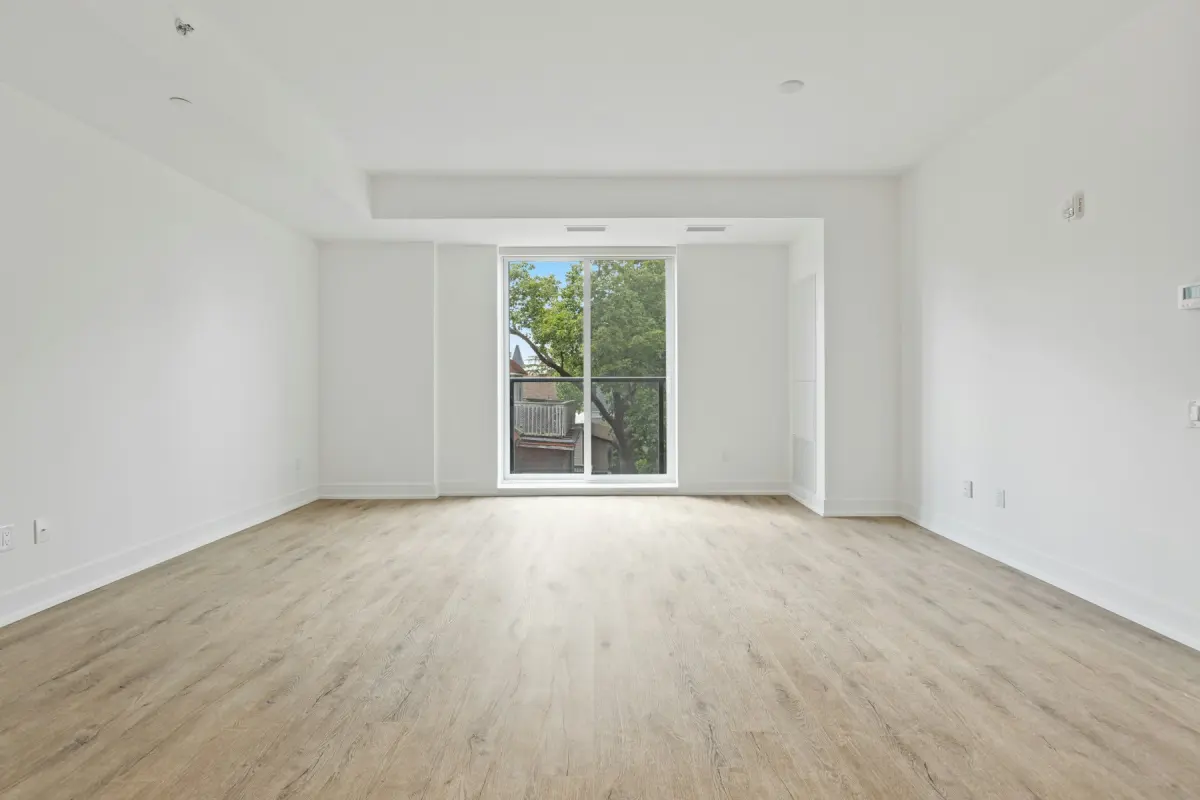 Living room
How it works
- 1
Upload the furnished room
Add one JPG, PNG or WebP photo, up to 15 MB. A wide shot from a doorway or corner, showing the floor and at least two walls, gives the clearest view of the room.
- 2
Choose Remove furniture
Pick Remove furniture under What to do. This mode has no room type or style to set, because nothing is added to the photo.
- 3
Note any exceptions
The note is optional and holds up to 300 characters. Use it for items that could go either way, for example “also remove the wall-mounted TV” or “keep the built-in bookcase”.
- 4
Pick a size and press Generate
The 2K size uses one credit and 4K uses two. Most photos are ready while you wait.
- 5
Compare and download
Drag the before/after slider to check the empty room against the original, then press Download. The file is a JPG with the same aspect ratio as your upload.
Settings and tips
- What the mode takes out
- Furniture, rugs, lamps, wall art, curtains, plants and belongings. The result is a bare room, not a tidied one.
- What it leaves in
- Built-in things stay: kitchen cabinets, appliances, bathroom fixtures, radiators, fireplaces and ceiling lights. Walls, windows, doors, the ceiling and the view outside are also meant to stay as they are.
- Show as much floor as you can
- Large pieces hide floor and wall that the model then has to fill in. A photo with a lot of visible floor leaves it less to guess.
- When a piece is left behind
- If a floor lamp, a curtain rod or the shadow of the old sofa is still there, name it in the note (“remove the floor lamp by the window”) and press Generate again. That is a new render and uses credits.
- When something built-in changes
- Look at the windows, doors, radiators and fireplace on the slider. If one of them moved, changed shape or vanished, do not use that result: render again and say in the note what must stay.
- Check what was behind the furniture
- The floor and wall drawn where a sofa or wardrobe stood are the model’s best guess, not a record of what is there. Before the photo goes into a listing, make sure it does not show the floor or wall in better condition than it really is.
Good for
- Agents listing a home whose furniture is dated, oversized or mismatched
- Property managers who photograph a unit before the tenant has moved out
- Photographers asked for an empty version next to the furnished shot
- Sellers who want to show the size of a room that is full of their own things
- Anyone who needs an empty room photo to put through Virtual staging next
Not the right fit
- Clearing a mess while the furniture stays: use Declutter, which removes loose items and personal things only.
- Swapping old furniture for new in one step: use Restyle, which replaces furniture and decor with a new style.
- Hiding damage. Cracks, stains and other defects must stay visible; removing them misrepresents the property and is against the content policy.
- Emptying a whole house in one upload. It is one photo per render with no batch upload, and two photos of the same room are rendered separately, so the filled-in floor may not match between them.
What goes and what stays
The mode separates loose furnishings from the parts of the house. Sofas, beds, tables, chairs, rugs, lamps, wall art, curtains, plants and personal belongings are removed. Kitchen cabinets, appliances, bathroom fixtures, radiators, fireplaces and ceiling lights are kept, and so are the walls, windows, doors and ceiling.
A few things sit on the line: a wall-mounted TV, a wardrobe that looks fitted, a mirror screwed to the wall. If it matters which way one of them goes, say so in the note before you press Generate.
How the empty room is made
Virtual Staging Maker sends your photo to Google’s Nano Banana 2.1 image model with an instruction to take the furnishings out and to keep walls, windows, doors, ceiling, built-in fixtures, the view, the camera angle and the framing unchanged. Where a sofa or a bed stood, the model fills in the floor and wall behind it.
That instruction is a request to an AI model, not a guarantee, and no human designer retouches the photo. Compare every result with the original, and render again if something structural moved.
Remove furniture first, then stage the empty room
An emptied photo is often step one of two. Download it, upload it again, switch to Virtual staging and pick a room type and style to furnish the same room from scratch. Each step is its own render and uses its own credits.
If all you want is different furniture, Restyle does that in a single render. Emptying first makes sense when you also need the empty photo itself, for example to show how large the room is.
Emptied photos in a listing
An emptied photo is an edited photo, so treat it like a virtually staged one. Many MLSs and portals allow virtual staging when it is disclosed and the property itself is not misrepresented, but rules differ by MLS, portal, state and country: check your own.
When you download, a checkbox adds a “Digitally edited” label in the lower-left corner of the file. For other wording or another corner, use the free disclosure label tool on this site.