
Restyle
AI Room Redesign: Restyle a Furnished Room from a Photo
AI room redesign replaces the furniture and decor in a photo of a furnished room with a new style, in a similar layout.
Upload the photo, choose Restyle, pick the room type and a style such as Scandinavian, and press Generate.
- 12 styles
- 11 room types
- 2K or 4K
- Keeps the photo’s aspect ratio
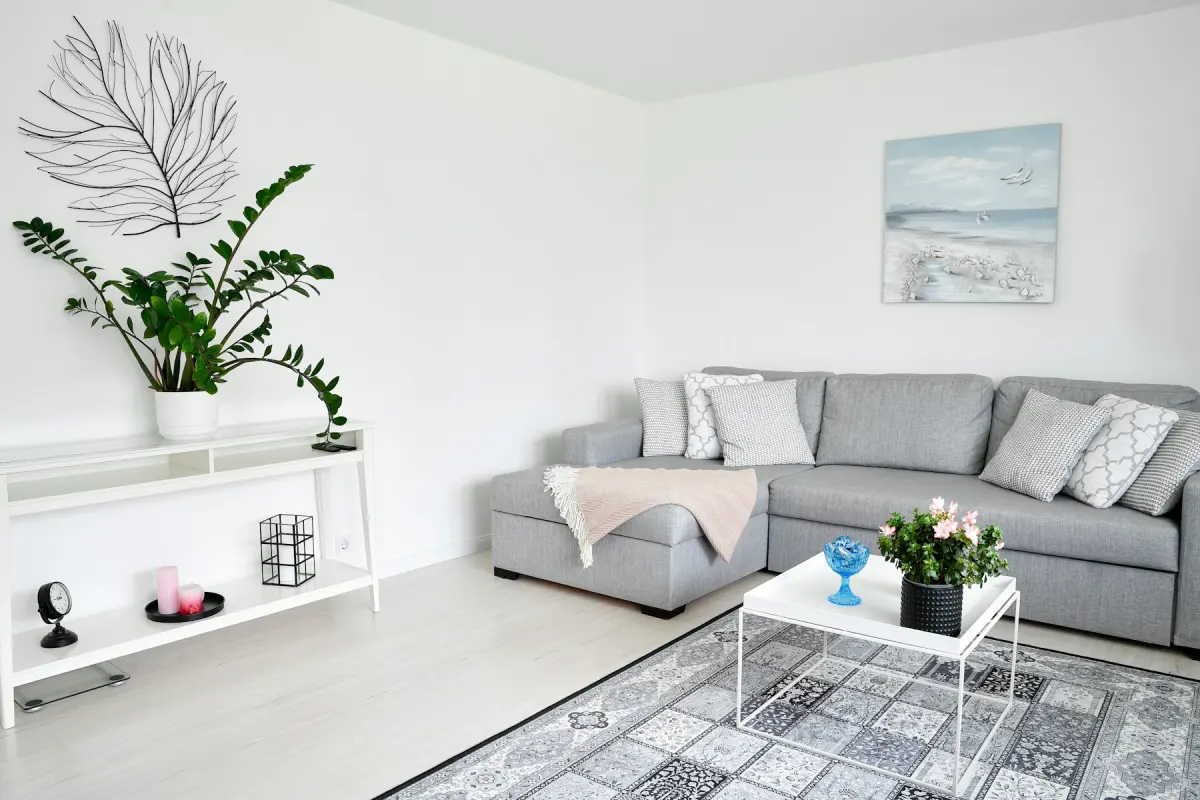
What this kind of photo looks like
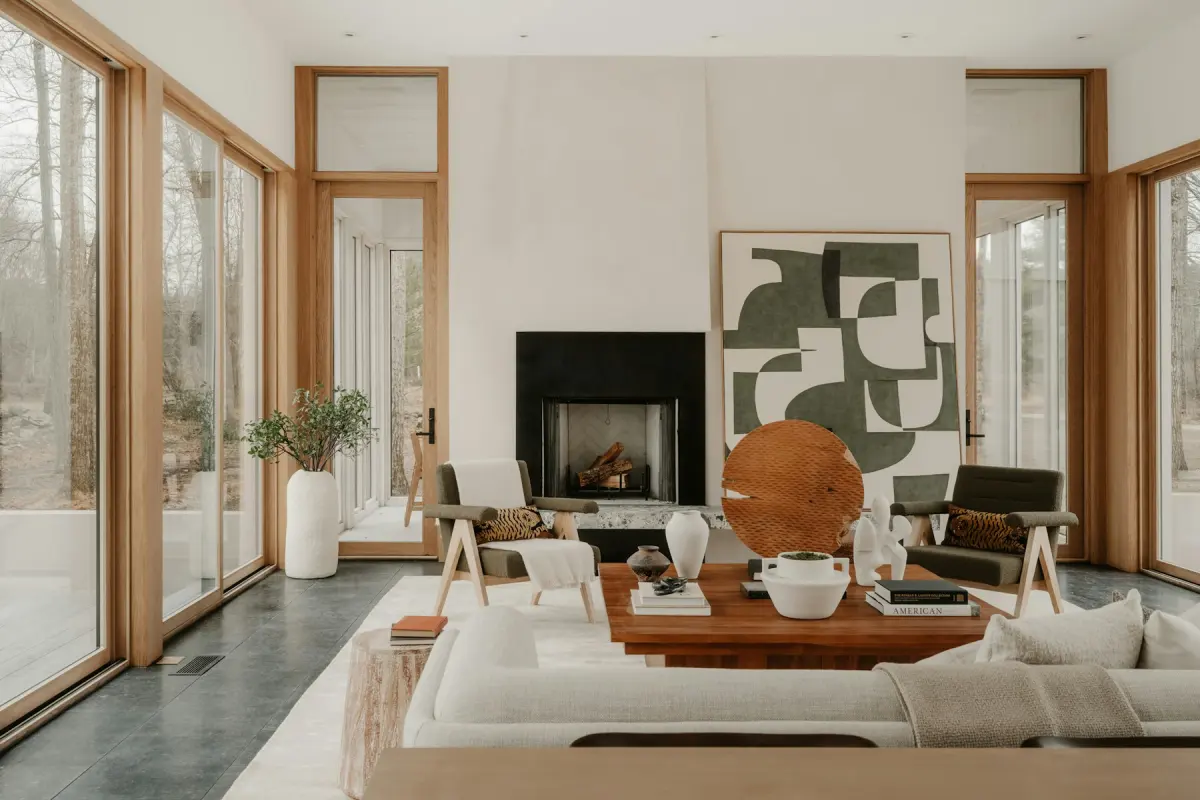 Mid-century
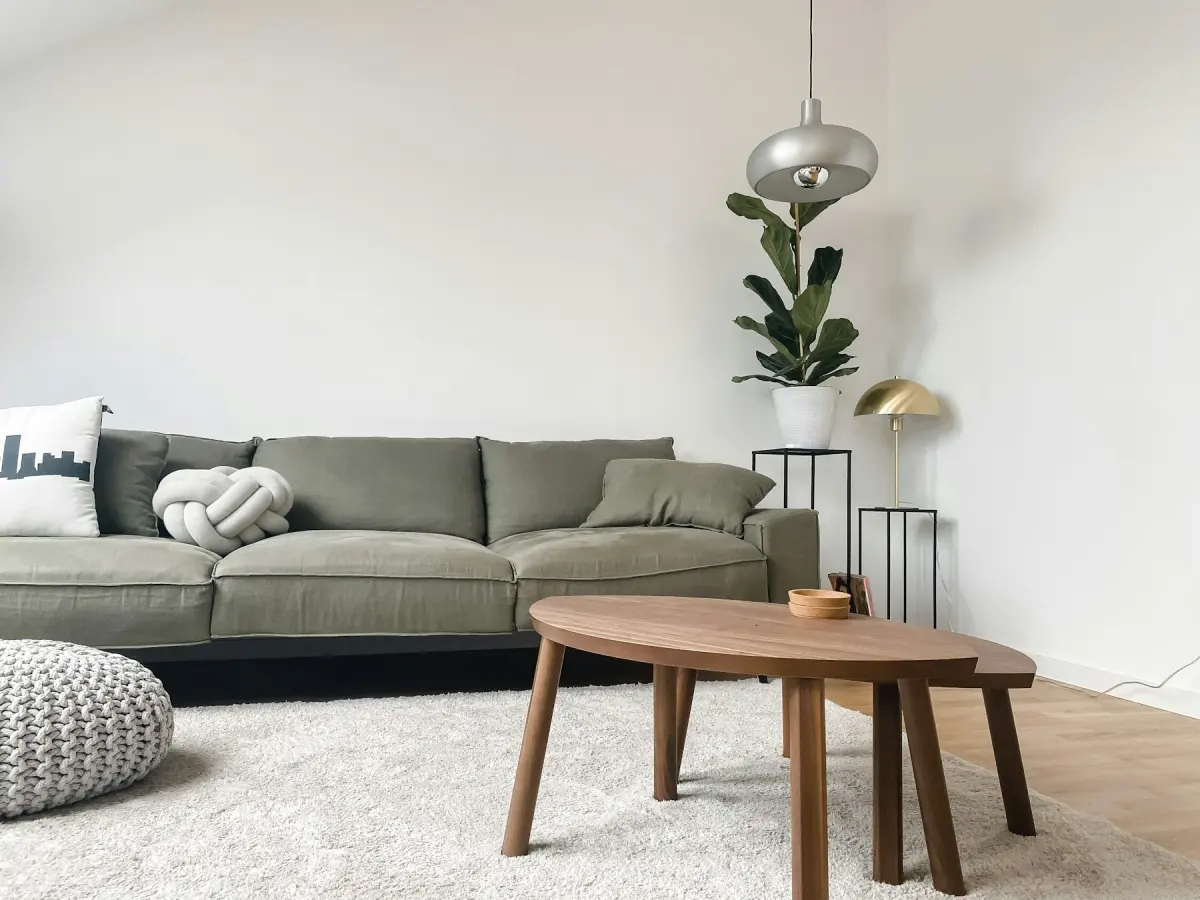 Japandi
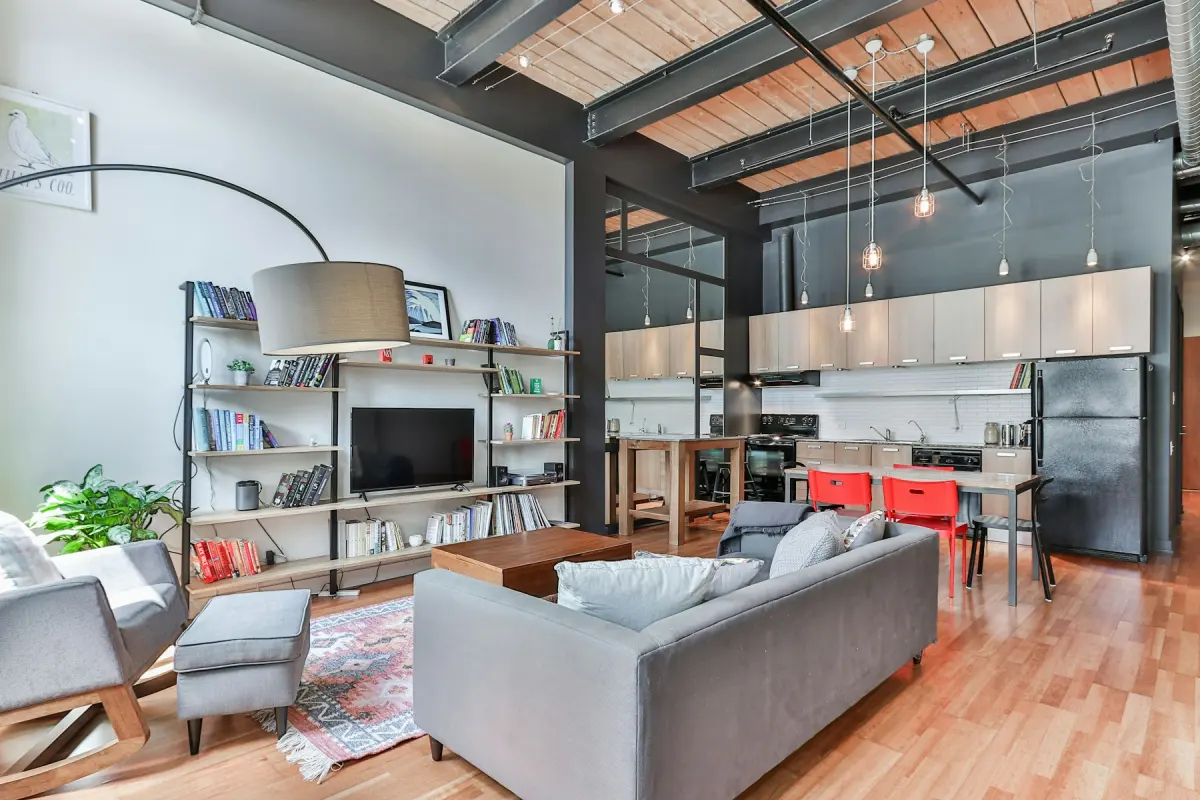 Industrial
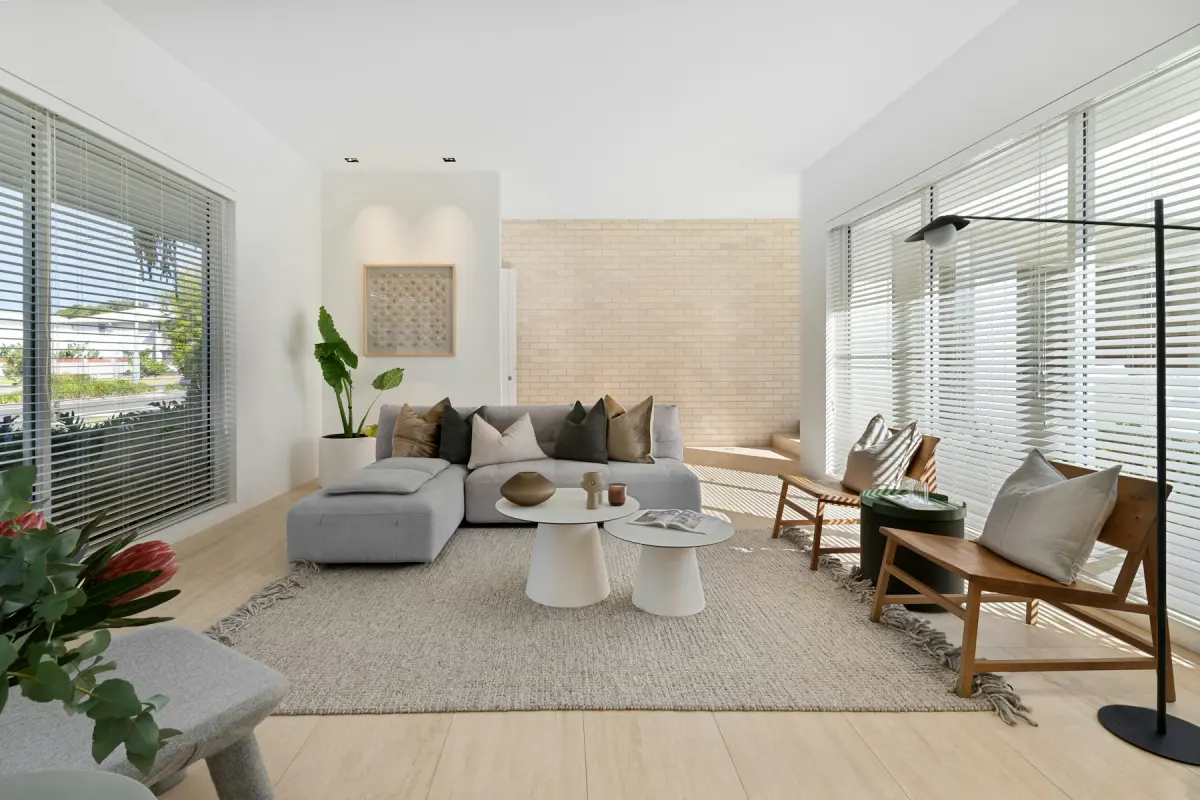 Coastal
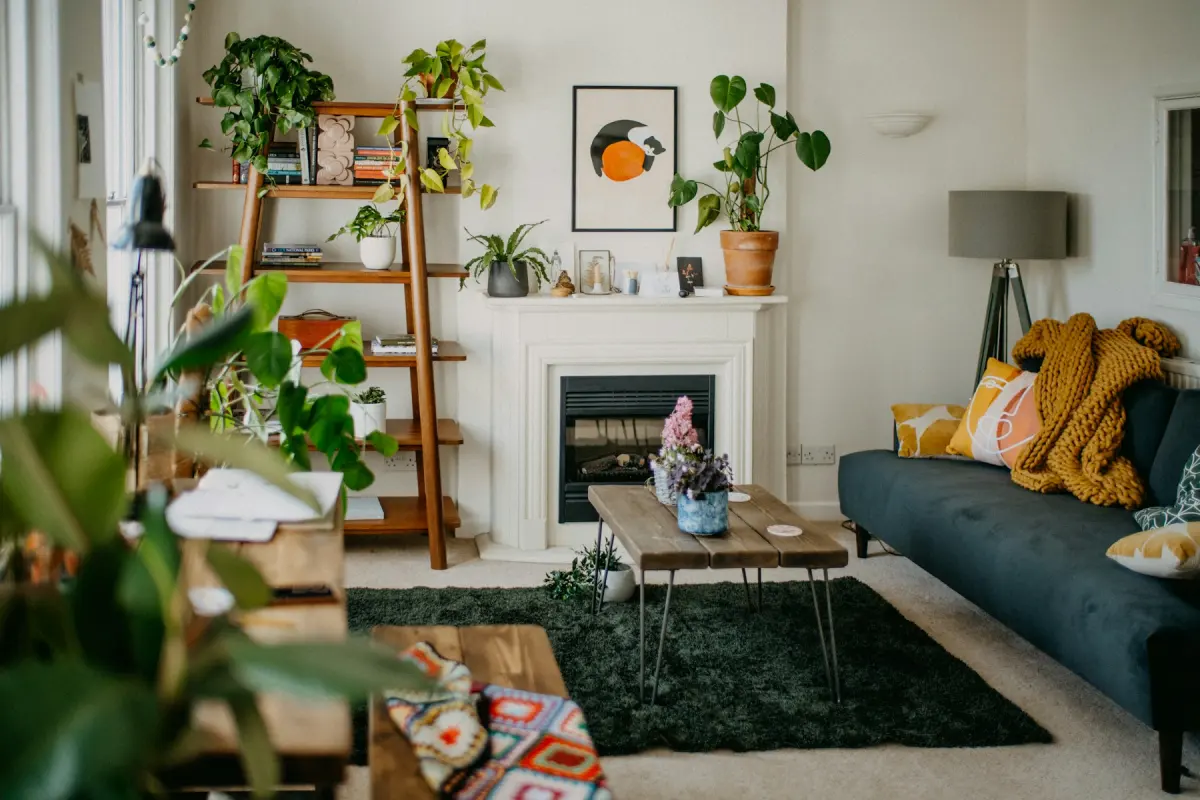 Bohemian
How it works
- 1
Upload a photo of the furnished room
One JPG, PNG or WebP, up to 15 MB. The room should already have furniture in it: Restyle uses the existing arrangement as its starting point.
- 2
Choose Restyle and the room type
Pick Restyle under What to do, then set Room to what the photo shows: Living room, Bedroom, Dining room, Home office or another of the 11 room types.
- 3
Pick a style
Choose one of 12: Modern, Scandinavian, Mid-century, Farmhouse, Coastal, Industrial, Minimalist, Traditional, Transitional, Bohemian, Japandi or Luxury.
- 4
Add a note for specifics
Optional, up to 300 characters. Name a piece or a placement you want, such as “a sectional facing the fireplace” or “a round dining table for four”.
- 5
Generate, compare and download
Set the output size to 2K or 4K and press Generate. The before/after slider shows the old room against the new one, and Download saves the JPG.
Settings and tips
- What changes
- Furniture and decor: seating, beds, tables, rugs, lamps, cushions and art are replaced with pieces in the style you picked.
- What stays
- The layout stays similar, so the seating area remains the seating area. The room itself is meant to stay as it is: walls, windows, doors, ceiling, built-in fixtures and the view.
- Match the room type to the photo
- Restyle keeps a similar layout, so set Room to what the room already is. A bedroom photo set to Bedroom gives the model a clear job.
- Narrow the styles before you render
- Each press of Generate is a new render and uses credits. Browse the style gallery, which is free, and settle on two or three styles before you start.
- When the layout drifts
- If the new furniture blocks a door, covers a window or lands in a walkway, describe the placement in the note (“keep the path to the balcony door clear”) and render again.
- When the room itself changes
- Slide between before and after and look at the windows, doors and built-in fixtures. If any of them moved or changed, set that result aside and render again.
Good for
- Interior designers who want a direction photo to discuss with a client
- Agents whose listing is furnished in a dated or very personal style
- Short-term rental hosts deciding how to refurnish before they buy anything
- Homeowners asking what their living room would look like in another style
Not the right fit
- Empty rooms. Restyle needs furniture to replace; for a bare room use Virtual staging.
- New paint, flooring, cabinets or tiles: that is Renovate. Restyle changes furniture and decor only.
- Showing a particular product. The tool cannot place a specific sofa or lamp from a shop and cannot measure the room, so read the result as a direction, not a shopping list or a plan.
- A matching set of photos. Furniture is not kept identical across different photos of the same room, so two angles will show two different redesigns.
Redesign my room: what the photo needs
Restyle starts from what is already there. A photo with the main pieces in view (the sofa and coffee table, the bed and nightstands, the table and chairs) shows where the seating, sleeping or dining area is, and the new furniture goes into a similar arrangement.
Shoot from a corner or a doorway in daylight with the camera level, so the floor and the main walls are in the frame. A photo larger than 4096 px on its long edge is scaled down in your browser before it is uploaded.
Restyle, Virtual staging or Renovate
Three modes change how a room looks, and the photo you have decides which one fits. Virtual staging adds furniture to an empty room. Restyle swaps the furniture in a furnished room. Renovate changes the surfaces: wall paint, flooring, light fixtures and hardware, plus cabinet fronts, countertops and backsplash in a kitchen.
They can follow one another as separate renders, each with its own credits. For a dated room, one order is Renovate for the finishes, then Restyle on the downloaded result for the furniture.
How the redesign is made
Virtual Staging Maker sends the photo, the room type, the style and your note to Google’s Nano Banana 2.1 image model. The request tells the model to replace furniture and decor and to leave walls, windows, doors, ceiling, built-in fixtures, the view, the camera angle and the framing unchanged.
A request to an AI model is not a guarantee, and no human designer edits the photo afterward. If something that should have stayed has moved, the fix is another render.
Using a redesigned photo
For design work, the result is a conversation starter: it shows a direction, and the pieces in it are not real products.
For a listing, a restyled room shows furniture that is not in the home, so handle it like any virtually staged photo: disclose it, and check your MLS or portal rules, which differ by MLS, portal, state and country. For a rental that guests will stay in, the real room has to match what the photo shows.