
Green lawn
AI Lawn Replacement: Make the Grass Green in a Listing Photo
AI lawn replacement makes brown, patchy or bare grass look green and tidy in a listing photo of a house or yard.
Upload the exterior photo, choose Green lawn under What to do, and press Generate.
- Brown, patchy or bare grass
- JPG, PNG, WebP up to 15 MB
- 2K or 4K
- Before/after slider
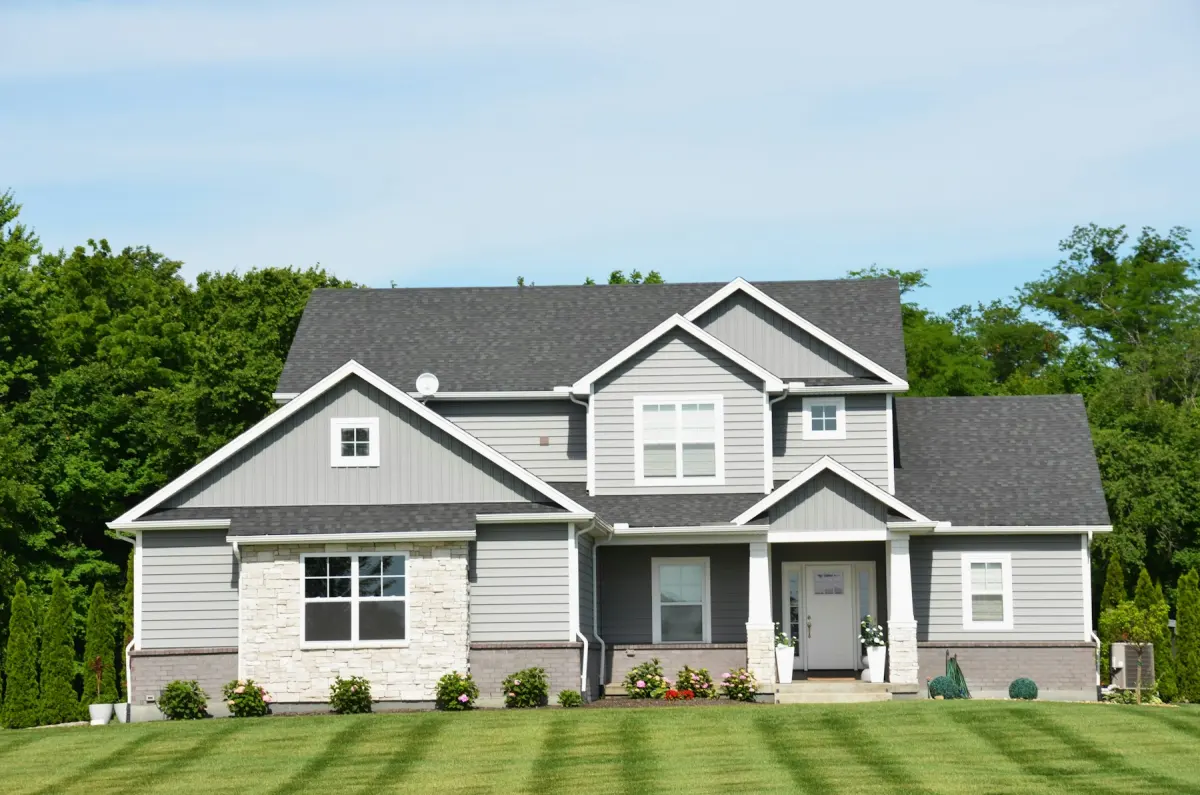
What this kind of photo looks like
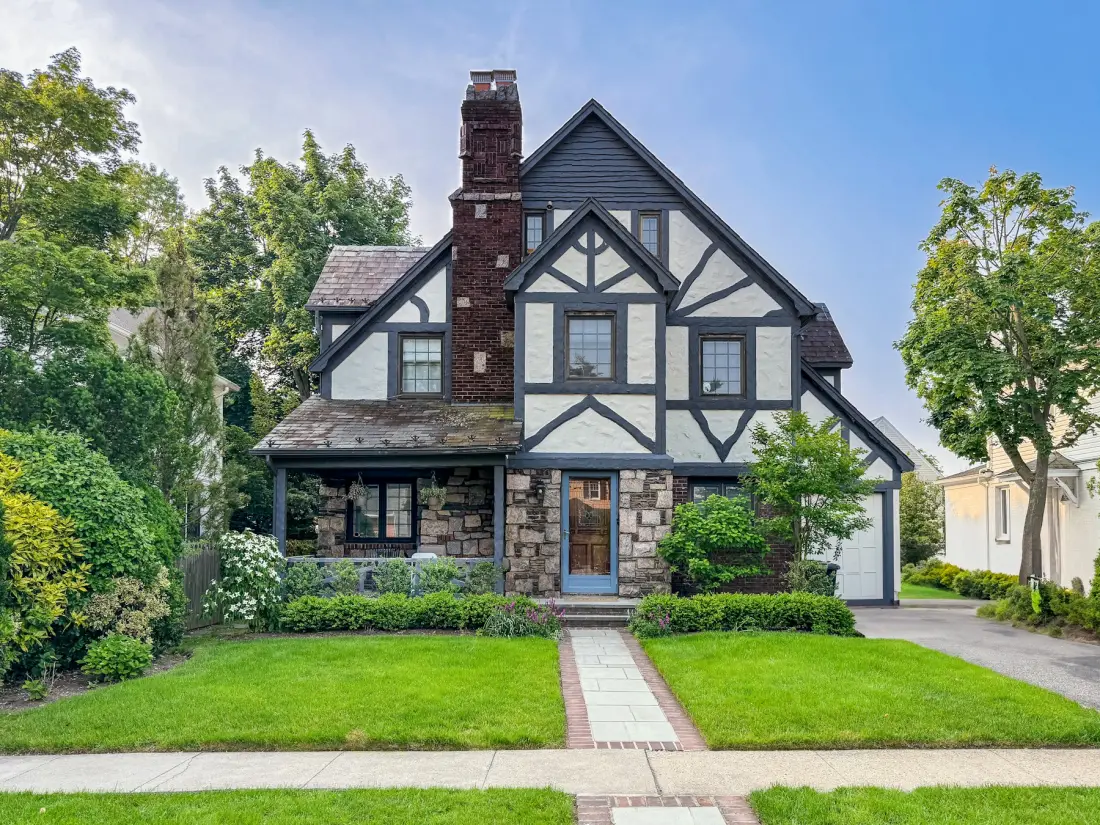
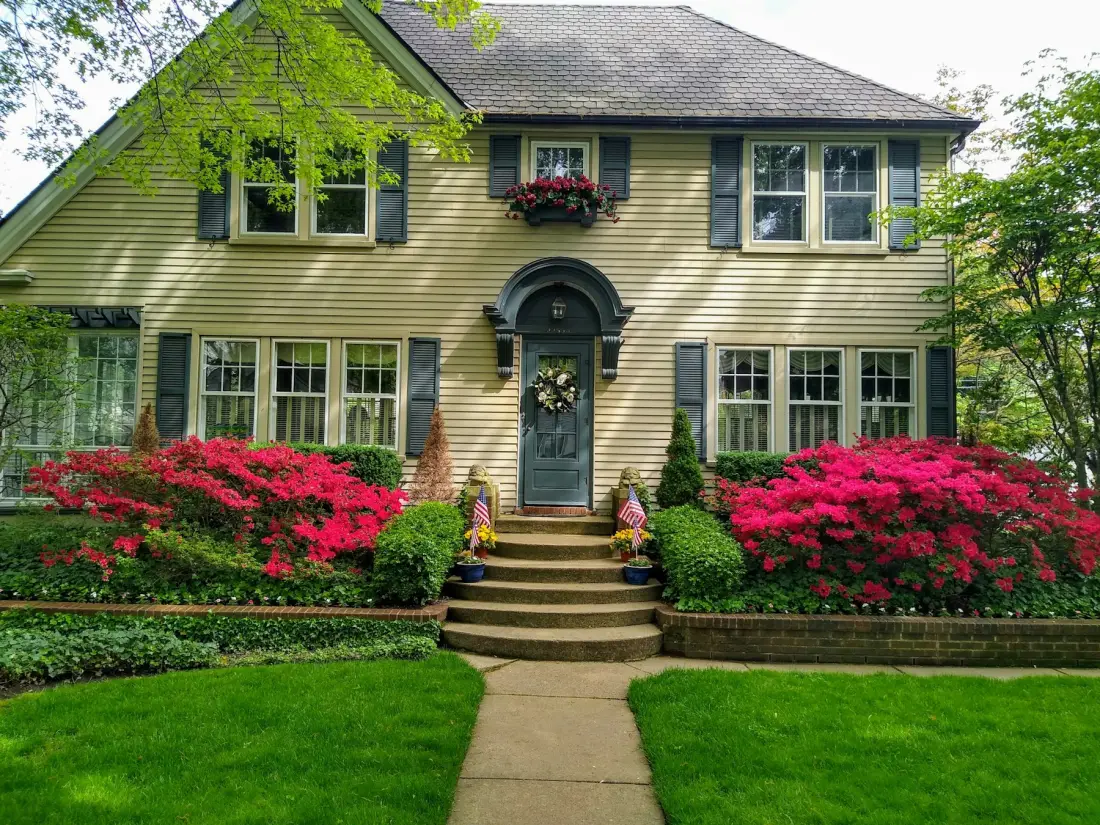
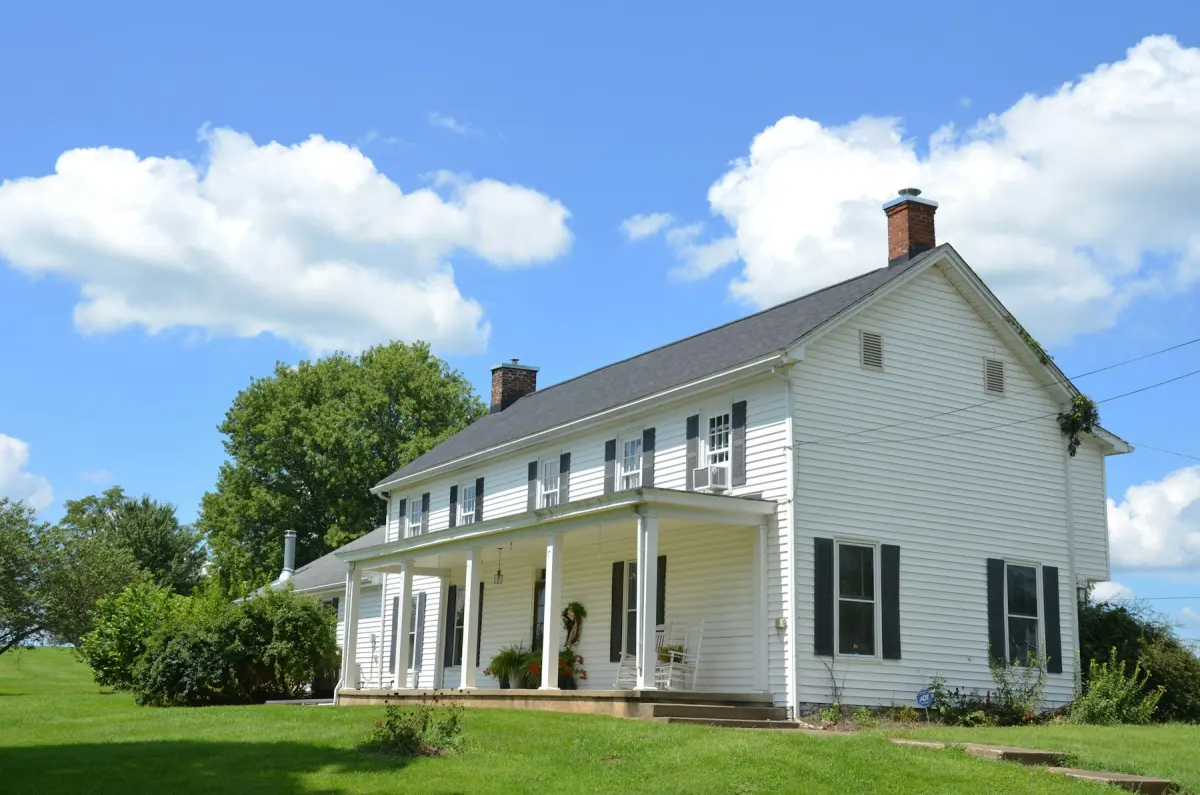
How it works
- 1
Upload the photo with the lawn in view
A front or back exterior, as one JPG, PNG or WebP of up to 15 MB. Make sure the edges of the lawn (paths, beds, driveway) can be seen.
- 2
Choose Green lawn
Pick Green lawn under What to do. No room type or style applies to this mode.
- 3
Add a note for the season
Optional. If the trees are bare or the photo was taken in late autumn, ask for “natural, slightly muted green” so the grass fits the rest of the photo.
- 4
Generate and compare
Select 2K or 4K, then press Generate. Slide between before and after and look at the places where grass meets paths, beds and the driveway.
- 5
Download the photo
Download saves the JPG. Tick the checkbox if you want a “Digitally edited” label in the lower-left corner of the file.
Settings and tips
- What changes
- Grass that is brown, patchy or bare becomes green and tidy.
- What stays
- The house, the view, the camera angle and the framing are meant to stay as shot. The mode works on grass; it is not a landscaping tool and should not add plants, trees or features the yard does not have.
- Watch the borders
- Look at paths, flower beds, gravel and the driveway edge. If green spread over a stepping-stone path or a bed turned into turf, render again and name the area in the note (“keep the gravel path and the mulch beds as they are”).
- Season mismatch
- Bright summer grass under bare branches or next to snow looks edited. Ask for a muted green, or keep the original for that photo.
- Bare patches, not missing lawns
- Bare patches in an existing lawn are what the mode is for. A yard with no lawn at all is different: showing grass the property does not have misrepresents it.
- One careful retry
- A retry is a new render and uses credits like the first. Read the first result closely and write one precise note before you try again.
Good for
- Agents listing in late summer, drought or winter, when the lawn is dormant
- Photographers delivering exteriors where the grass lets the photo down
- Owners selling by themselves whose lawn is between seasons
- Property managers with shared lawns worn thin by foot traffic
Not the right fit
- A yard with no lawn. Adding grass, plants or features the property does not have misrepresents it and is against the content policy.
- The sky above the lawn or furniture on the patio: use Blue sky for one and Outdoor staging for the other.
- Hiding damage or permanent features, such as a cracked driveway or a busy road beside the yard.
- A whole exterior shoot in one upload. It is one photo per render, with no batch upload.
Why lawns let listing photos down
Grass has seasons and listing dates do not wait for them. A lawn goes brown in drought or cold and wears thin where people walk, and the exterior photo records whatever state it is in on the day of the shoot.
Green lawn fixes the photo, not the grass. It shows the lawn as it looks in a good season, in the same yard, from the same camera position.
What a fair lawn edit looks like
The test is simple: the edited photo should show the lawn this property has, in better condition, and nothing else. Same shape, same borders, same trees and beds. A buyer who visits in spring should recognize it.
It stops being fair when the edit adds or hides something: grass where there is gravel, a lawn over ground that has never been one, a fence that is gone. Do not publish a result like that; render again.
Rules on edited exterior photos differ by MLS, portal, state and country. Check yours, and disclose the edit where it is required.
How the grass is changed
The photo goes to Google’s Nano Banana 2.1 image model with an instruction to make the grass green and tidy and to keep the building, the view, the camera angle and the framing unchanged. The output is a JPG at 2K or 4K in your photo’s aspect ratio.
No person edits the photo and the instruction is not a guarantee, so the comparison on the slider is your quality check.